Have you ever wanted to streamline your photography gear for better mobility? Adding a monopod holder to your camera bag can be a game-changer.
It offers convenient access and frees up your hands while ensuring your monopod is securely attached for quick deployment.
Whether you’re shooting landscapes, events, or on-the-go action, having your monopod readily accessible can save valuable time and enhance your shooting experience.
This guide explores simple methods to integrate a monopod holder onto your camera bag, ensuring you’re always prepared to capture the perfect shot, wherever your photography adventures take you.
Here can you buy just camera bag pads?
What is monopod holder ?
A monopod holder is a device designed to securely attach a monopod to a camera or other equipment.
It typically consists of a mount with a threaded screw or quick-release plate that attaches to the top of the monopod.
The other end of the holder connects to the camera or other device, providing stability and ease of use for photographers and videographers.
By using a monopod holder, users can achieve steadier shots compared to handheld operation, especially in situations where a tripod might be too cumbersome or where mobility is essential.
Monopod holders come in various designs to accommodate different types of cameras and equipment, ensuring compatibility and versatility in professional and amateur photography setups alike.
They offer a practical solution for improving stability and control while shooting, making them a valuable accessory for anyone looking to enhance their photographic capabilities.
Is it worth to add a monopod holder?
Adding a monopod holder can be worth it for photographers and videographers who frequently use monopods.
The holder enhances stability and control over your camera or equipment, which can significantly improve the quality of your shots.
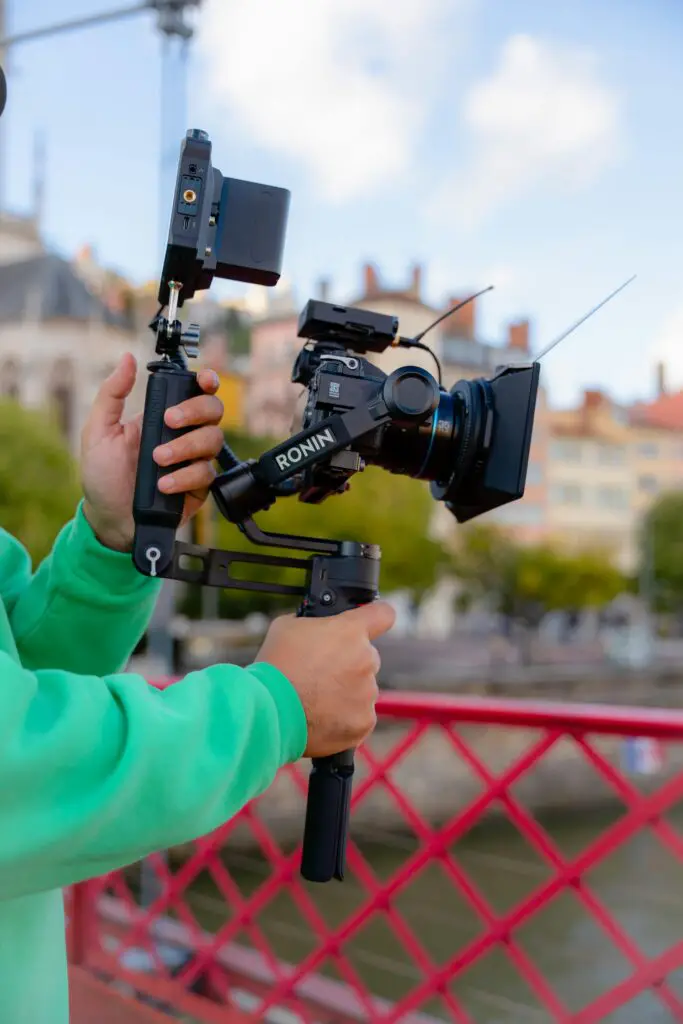
It allows for smoother panning and tilting movements, reducing the risk of camera shake and resulting in sharper images or smoother video footage.
Moreover, a monopod holder increases convenience by securely attaching your camera to the monopod, minimizing the risk of accidental drops or damage.
Consider adding a monopod holder if you often shoot in situations where mobility is key or when using a tripod is impractical.
It’s particularly beneficial for events, sports photography, wildlife photography, or any scenario where you need to quickly adjust angles and capture steady shots.
Overall, investing in a monopod holder can enhance your shooting experience by providing stability, control, and peace of mind, making it a worthwhile addition to your photography gear.
Here, how to make a camera bag from scratch?
Is it important to add a monopod holder
Adding a monopod holder can be important depending on your specific photography or videography needs.
It enhances the functionality of a monopod by providing a secure attachment point for your camera or equipment, which significantly improves stability and control.
This is particularly valuable in situations where you need to capture steady shots without the bulkiness of a tripod, such as in events, sports, or wildlife photography.
A monopod holder also reduces the risk of accidental drops or damage to your camera by securely fastening it to the monopod.
It allows for smoother panning and tilting movements, crucial for achieving professional-quality footage or photos.
Additionally, a monopod holder enhances convenience by making it easier to mount and dismount your camera quickly, which is beneficial in fast-paced shooting environments.
Ultimately, whether a monopod holder is important depends on your shooting style and the types of photography or videography you frequently engage in.
For many photographers and videographers, it’s a valuable accessory that enhances both the quality and ease of capturing images and footage.
How to add a monopod holder onto my camera bag?
7 steps to add a monopod holder onto my camera bag
Sure, here are the 7 steps to add a monopod holder onto your camera bag:
1. Choose the Right Monopod Holder
Selecting the right monopod holder is crucial for ensuring compatibility with both your camera bag and your monopod.
Consider factors such as the size and weight of your monopod, as well as the design and attachment options of the holder.
Look for a holder that securely fastens your monopod while also integrating well with your camera bag’s style and functionality.
Some holders use adhesive, Velcro, or straps for attachment, so choose one that suits your preferences and bag type.
2. Determine Placement on Your Camera Bag
Decide where on your camera bag you want to attach the monopod holder. Typically, this is on the side or bottom of the bag, where it won’t obstruct access to other compartments or hinder your movement.
Here, how to make your own camera bag?
Consider the weight distribution and balance of your bag when choosing the placement. Ensure there’s enough space to accommodate the length of your monopod comfortably without making the bag unwieldy or unbalanced.
3. Prepare the Attachment Surface
Before attaching the holder, prepare the surface on your camera bag where it will be placed.
Clean the area thoroughly to remove any dirt, dust, or oils that could affect the adhesion of the holder. Use a mild soap and water solution or a cleaning wipe to ensure the surface is clean and dry before proceeding.
4. Attach the Monopod Holder
Depending on the type of holder you’ve chosen, follow the manufacturer’s instructions for attachment. If using adhesive, peel off the backing and carefully press the holder onto the prepared surface of your camera bag.
Ensure it’s positioned correctly according to your planned placement. If the holder uses Velcro or straps, fasten them securely around the bag, ensuring a tight fit that supports the weight of your monopod.
5. Secure the Holder
Once attached, double-check the security of the monopod holder.
Give it a gentle tug to ensure it’s firmly in place and won’t come loose with movement or weight. Pay attention to any specific instructions provided with the holder regarding curing time for adhesives or tightening straps.
6. Test Placement and Accessibility
After securing the holder, test the placement by inserting your monopod into it.
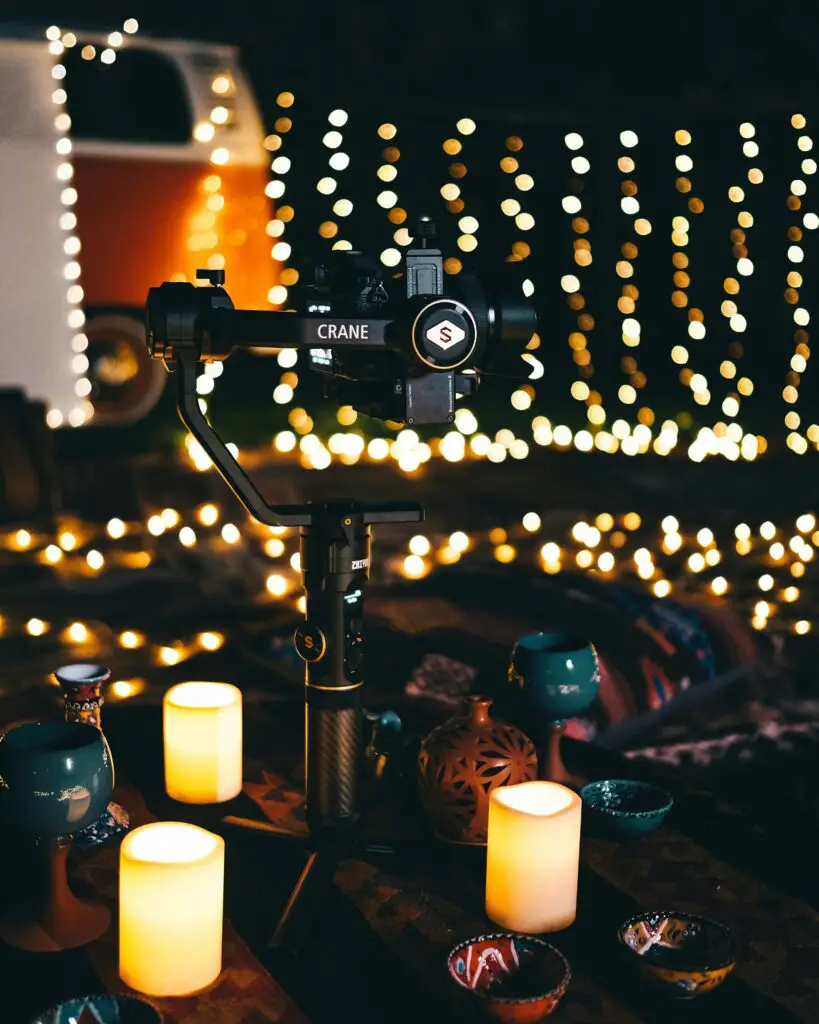
Ensure that the monopod fits securely and doesn’t obstruct access to other compartments or gear within your camera bag. Test the functionality of any straps or Velcro closures to make sure they provide adequate support and stability.
7. Adjust and Fine-tune as Needed
Once everything is in place, assess the overall balance and functionality of your camera bag with the added monopod holder. Make any necessary adjustments to the placement or tightness of straps to optimize comfort and usability.
Take some time to get accustomed to using the bag with the monopod attached, ensuring it meets your needs and enhances your workflow as a photographer or videographer.
By following these 7 steps, you can effectively add a monopod holder to your camera bag, enhancing its versatility and convenience for carrying and using your monopod in various shooting environments.
5 Methods to add a monopod holder onto my camera bag
5 Benefits to add a monopod holder onto my camera bag
Related faq’s
How to attach tripod to camera backpack?
How do you attach a tripod to a messenger bag?
How do you attach a monopod?
Is a monopod better than a tripod for long exposure?
A tripod is generally better than a monopod for long exposure photography.
Tripods offer greater stability and minimize camera movement, crucial for capturing sharp images during long exposures where even slight vibrations can cause blur.
Tripods also provide more versatility in adjusting height and angle, accommodating different shooting conditions and compositions.
While monopods offer mobility and quick setup, they lack the stability needed for extended exposure times, especially in low-light situations.
Therefore, photographers often prefer tripods for their reliability in achieving crisp, clear long exposure shots.
How to attach a travel tripod to shoulder camera bag
How best to carry a monopod when not in use?
When not in use, the best way to carry a monopod is to collapse its sections fully to minimize its length.
Use a dedicated monopod holder attached to your camera bag or backpack, ensuring it’s securely fastened to prevent swinging or catching on objects.
Alternatively, store it inside your bag if it fits comfortably, or use a strap to secure it horizontally or vertically alongside your bag.
This method keeps the monopod easily accessible for quick deployment while ensuring it doesn’t hinder your movement or pose a safety risk to yourself or others.
Mounting a tripod to a backpack?
Mounting a tripod to a backpack can be accomplished using various methods depending on the design of your backpack and tripod.
Many modern camera backpacks come equipped with dedicated tripod attachment systems. Look for external straps, loops, or pockets specifically designed to secure tripods.
Typically, these features allow you to insert the legs of the tripod and fasten them securely with adjustable straps or clips.
If your backpack doesn’t have built-in tripod attachments, you can use accessory straps or bungee cords to secure the tripod.
Place the folded tripod horizontally or vertically alongside the backpack and use the straps to fasten it tightly. Ensure the tripod is balanced and won’t swing or shift during movement.
When mounting a tripod to a backpack, consider the weight distribution and accessibility. Ensure the tripod doesn’t obstruct access to other compartments or make the backpack uncomfortable to carry.
Properly securing the tripod ensures it remains stable and minimizes the risk of damage while traveling or hiking.
Tripod mountable monopod (or equivalent)
A tripod-mountable monopod combines the stability of a monopod with the versatility of tripod mounting.
It typically features a base with a threaded screw or quick-release plate that allows it to attach directly to a tripod head or mount.
This design enables photographers and videographers to switch between monopod and tripod setups quickly, depending on their shooting needs. It provides enhanced stability for longer exposures or when shooting in low light while offering the mobility and compactness of a monopod.
This dual functionality makes it a valuable tool for capturing a wide range of scenes with ease and flexibility.
HELP! MONOPOD MOUNT STUCK TO SMALLRIG!
If your monopod mount is stuck to a SmallRig or similar device, try applying gentle pressure and twisting motions to loosen it. Use a rubber grip or cloth for better grip and protection.
If it’s still stuck, try using a lubricant like WD-40 around the edges to loosen the adhesive or friction. Be cautious not to damage the equipment during this process.
If these methods don’t work, seek assistance from a professional technician or customer support for further guidance on safely removing the monopod mount without causing damage.
How does one carry/use a camera *and* a hiking stick?
Carrying a camera and a hiking stick simultaneously requires careful planning for comfort and accessibility.
One common method is to use a camera sling strap that allows the camera to hang securely at your side or front, leaving your hands free to use the hiking stick.
Alternatively, consider a backpack with a dedicated camera compartment or attachments for a tripod or monopod, freeing up your hands when not actively shooting.
Ensure the camera is securely stowed to prevent swinging or discomfort while hiking, and practice quick access techniques to capture shots efficiently without disrupting your hiking rhythm.
Conclusion
Adding a monopod holder to your camera bag enhances versatility and convenience in your photography setup.
Whether using adhesive for a permanent attachment, Velcro for adjustability, or sewing for durability, each method ensures your monopod is securely fastened and easily accessible.
Choose a method that suits your bag’s material and your shooting style, ensuring the holder doesn’t interfere with accessing other gear.
With a properly attached monopod holder, you can streamline your workflow, stabilize your shots effectively, and ensure your equipment remains organized and protected while on the move.


