
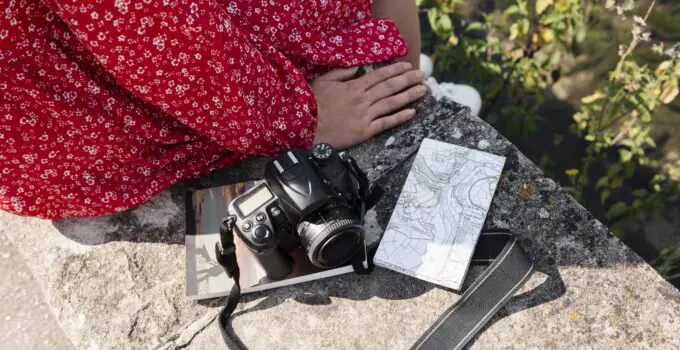
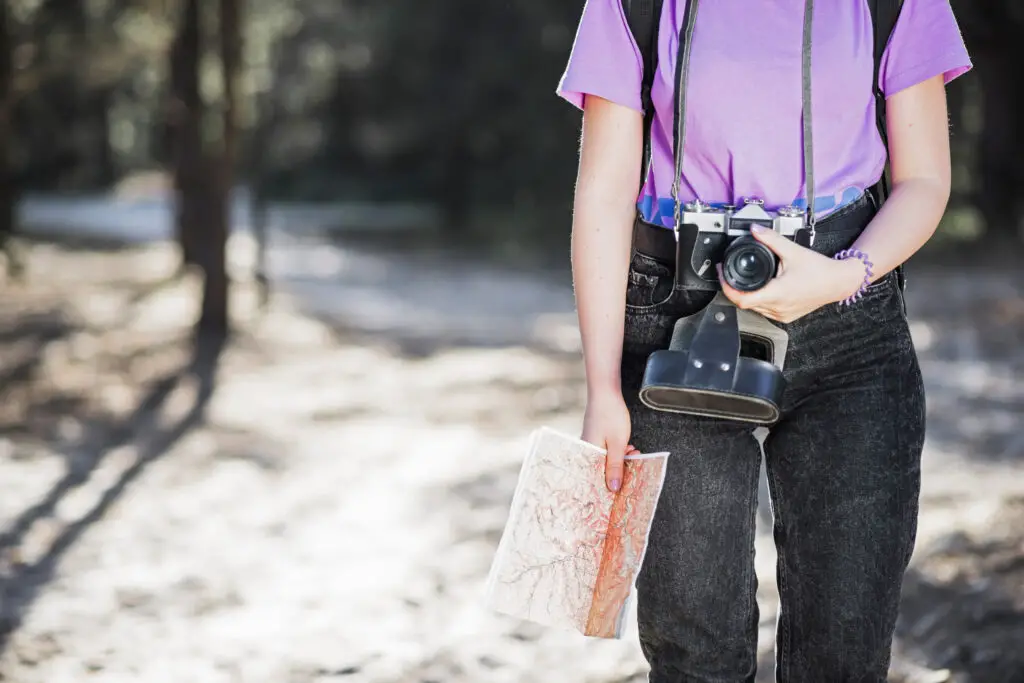
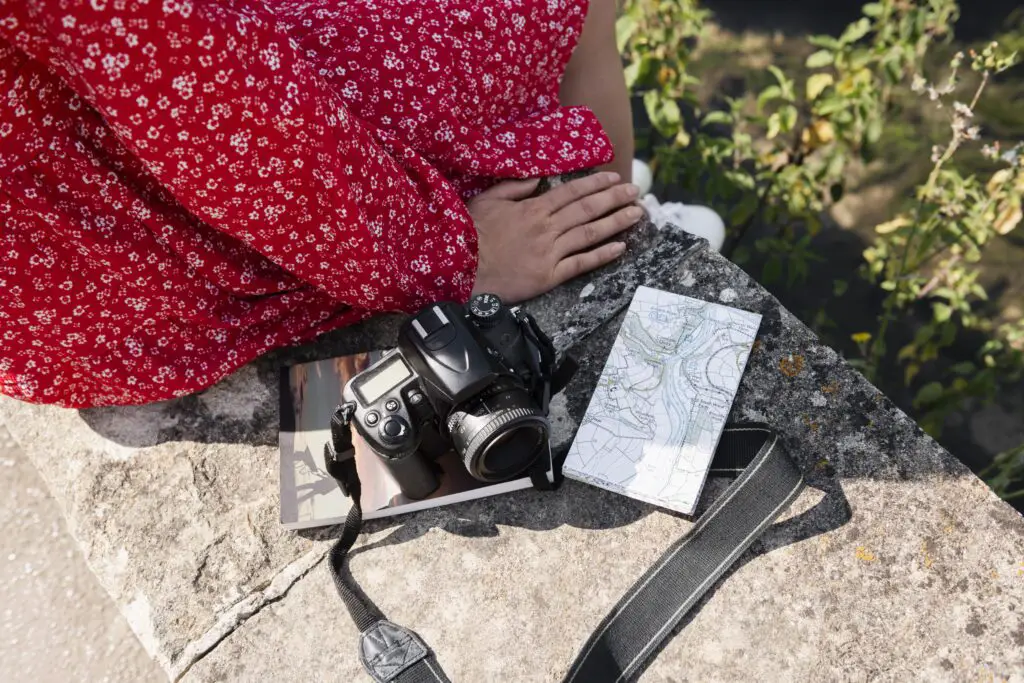
Ever struggled with carrying your camera while traveling? Wondering how to securely attach it to your bag without compromising accessibility?
Fitting a camera to a bag is a common dilemma among photographers seeking convenience and protection.
By exploring various mounting options and accessories, you can integrate your camera seamlessly into your everyday carry, ensuring quick access for capturing spontaneous moments while keeping your gear safe from the elements.
Whether it’s utilizing dedicated camera clips, modular attachments, or customizing your bag with padded compartments, finding the right solution hinges on balancing accessibility, comfort, and protection for your beloved gear.
Here how to put strap on a monalta camera?
What does fitting a camera to a bag mean?
How to properly put a camera in a bag?
Can I just put my camera in my bag?
While you can technically put your camera directly into a bag without additional protection, it’s generally not recommended for several reasons.
Cameras are sensitive to dust, moisture, and impact, which can affect their performance and longevity.
Without proper padding or compartments, there’s a risk of scratches, bumps, and potential damage to delicate components like the lens or sensor.
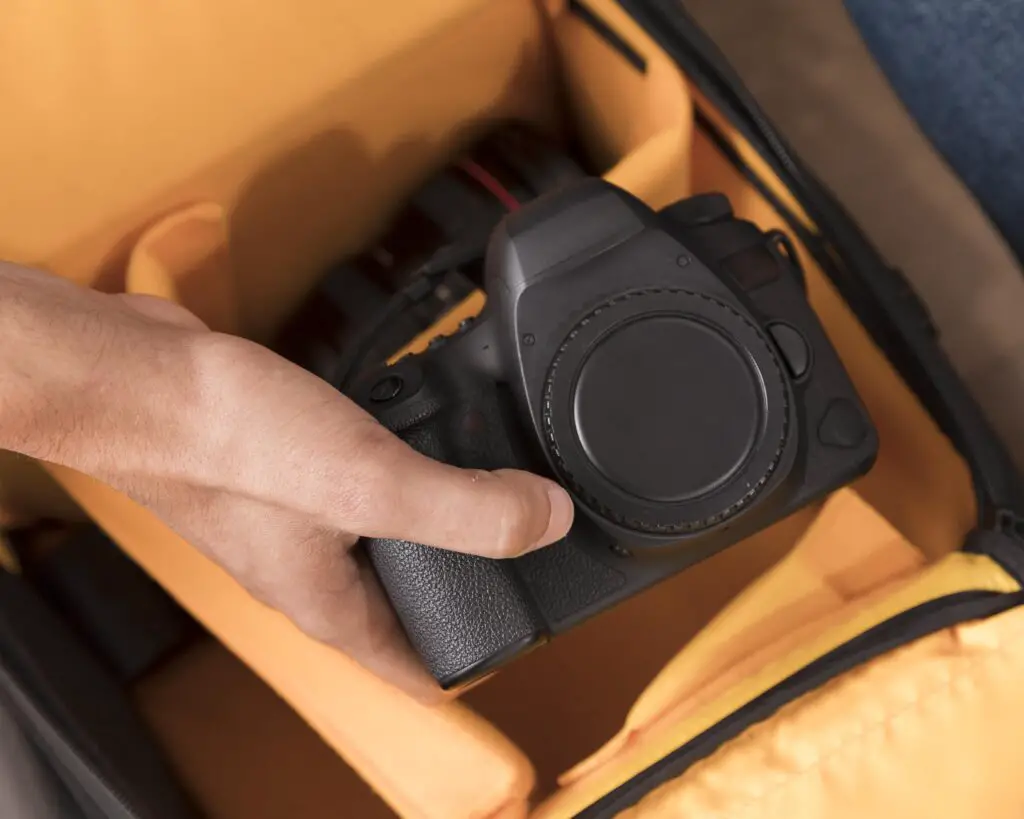
Using a bag specifically designed for cameras offers specialized padding and compartments that help protect your equipment.
These bags often have adjustable dividers to securely hold your camera, lenses, and accessories in place, minimizing the risk of them knocking into each other during transport.
Investing in a dedicated camera bag not only provides better protection but also offers organizational benefits, making it easier to access your gear quickly and efficiently.
Here, how to spot a fake ysl lou camera bag?
This approach helps maintain your camera’s condition and ensures it’s always ready for use, whether you’re shooting in a studio or out in the field.
How best to pack a camera bag?
How do you cover a camera with a bag?
What kind of camera do you use to fit a camera to a bag?
How do you fit a camera to a bag?
7 steps to fit a camera to a bag
5 methods to fit a camera to a bag
Certainly! Here are 5 methods to fit a camera to a bag, each explained in detail:
Method 1: Utilizing Padded Compartments and Dividers
Many camera bags come equipped with padded compartments and adjustable dividers. This method involves using these features to create custom-sized spaces for your camera body, lenses, and accessories.
Start by placing your camera body in the largest padded compartment. Ensure the lens is facing downwards to minimize dust accumulation on the sensor.
Use adjustable dividers to separate and secure each lens and accessory in their own compartments. This method helps prevent gear from shifting during transportation, reducing the risk of damage from impacts or bumps.
It also allows for efficient organization, ensuring quick access to specific items when needed.
Method 2: Using Modular Insert Systems
Some camera bags employ modular insert systems, where you can customize the interior layout by adding or removing individual inserts or pouches.
This method offers flexibility in organizing your gear according to your specific needs for each shoot. Start by selecting the appropriate size and type of modular insert for each camera body, lens, and accessory.
Place these inserts within the main compartment of the bag, arranging them to optimize space and provide adequate padding around each item.
This method is ideal for photographers who frequently change their equipment setup or need to carry specialized gear for different types of shoots.
It allows for easy reconfiguration of the bag’s interior to accommodate new equipment or accessories as needed.
Method 3: Using Camera Wraps or Sleeves
Camera wraps or sleeves are soft, padded pouches designed to envelop and protect individual cameras or lenses.
This method involves wrapping each piece of equipment in a camera wrap before placing it into the main compartment of the bag.
Start by wrapping the camera body and each lens separately in their respective sleeves. Ensure the wraps provide enough padding to protect against scratches and minor impacts.
Once wrapped, arrange these protected items within the bag’s main compartment, using any additional dividers or pockets for smaller accessories.
This method is particularly useful for photographers who prefer using non-traditional camera bags or integrating their gear into larger backpacks or travel bags.
It provides added protection and organization without the need for a dedicated camera bag, making it versatile for various travel or shooting scenarios.
Method 4: Employing Foam Inserts or Custom-Cut Padding
Foam inserts or custom-cut padding can be used to create tailored compartments within any bag, providing protection and organization for camera gear.
This method involves measuring and cutting foam inserts to fit the interior dimensions of your chosen bag. Start by measuring the length, width, and depth of the bag’s main compartment.
Use these measurements to cut foam sheets or blocks into pieces that fit snugly inside the bag. Arrange the foam inserts to create compartments for your camera body, lenses, and accessories.
Ensure each piece of equipment fits securely within its designated space, with enough padding to protect against impacts and movement during transport.
This method allows you to repurpose existing bags or backpacks into functional camera bags, providing customized protection and organization for your gear without investing in specialized camera bags.
It’s ideal for photographers who prefer using multi-purpose bags or need a cost-effective solution for transporting their equipment securely.
Method 5: Integrating Custom-Made Inserts or Dividers
For photographers with specific gear requirements or unique equipment setups, custom-made inserts or dividers offer a tailored solution for fitting a camera to a bag.
This method involves designing or purchasing inserts or dividers that are specifically designed to fit your camera body, lenses, and accessories.
Start by selecting or designing inserts that match the dimensions and layout of your bag’s main compartment.
Ensure the inserts provide adequate padding and support for each piece of equipment, protecting them from impacts and minimizing movement during transport.
Arrange these custom-made inserts within the bag’s main compartment to create individualized compartments for each item.
This method is ideal for photographers who use specialized or non-standard camera equipment that may not fit well in standard camera bags.
It allows for precise organization and protection of gear, ensuring everything stays secure and easily accessible during shoots or travel.
5 benefits to fit a camera to a bag
7 Fitting tips when fitting a camera to a bag
Certainly! Here are 7 fitting tips for when you’re fitting a camera to a bag, explained in detail:
Tip 1: Choose the Right Bag for Your Gear
Selecting the appropriate camera bag is essential for fitting your gear comfortably and securely. Consider the size and type of equipment you need to carry, whether it’s a DSLR, mirrorless camera, or compact setup.
Look for a bag with padded compartments, adjustable dividers, and additional pockets for accessories. Ensure the bag’s dimensions can accommodate your largest lens and camera body comfortably.
Choosing the right bag not only protects your gear but also enhances accessibility during shoots.
Tip 2: Organize Equipment by Frequency of Use
When packing your camera bag, organize your gear based on how frequently you’ll need to access each item.
Place frequently used equipment like your camera body and primary lens in easily accessible compartments. Reserve less frequently used accessories or backup items for deeper or secondary compartments.
This organization strategy ensures that you can quickly retrieve essential gear without rummaging through the entire bag, optimizing your workflow and minimizing disruptions during shoots.
Tip 3: Utilize Padded Dividers and Inserts
Most camera bags come with padded dividers and inserts that can be rearranged to create custom compartments for your gear.
Use these dividers to separate and secure each piece of equipment, preventing them from shifting or colliding during transportation.
Ensure each item fits snugly within its designated space, with adequate padding around fragile components like lenses or camera bodies.
This method not only protects your gear from damage but also facilitates efficient organization, making it easier to locate specific items quickly when needed.
Tip 4: Position Camera and Lenses Strategically
When fitting your camera into the bag, position it with the lens facing downwards to minimize dust settling on the sensor.
Place larger and heavier lenses towards the bottom of the bag to distribute weight evenly and prevent the bag from becoming top-heavy.
Ensure that each lens and accessory is securely fastened and cushioned to prevent damage from impacts or sudden movements.
This strategic positioning not only protects your equipment but also contributes to the overall balance and stability of the bag, making it more comfortable to carry over extended periods.
Tip 5: Secure Small Accessories in Dedicated Pockets
Utilize the bag’s smaller compartments, pockets, or pouches to store and organize smaller accessories such as memory cards, batteries, lens filters, and cables.
Secure these items in designated pockets to prevent them from shifting or getting lost within the main compartment. Some bags come with transparent or mesh pockets that allow you to easily identify and access these accessories without having to search through the entire bag.
This method enhances organization and efficiency during shoots, ensuring that essential accessories are readily available when needed.
Tip 6: Consider Weight Distribution and Comfort
Pay attention to how weight is distributed within the bag to ensure comfortable carrying.
Distribute heavier items towards the center and bottom of the bag to maintain balance and prevent strain on your shoulders or back. Adjust the bag’s straps or carrying system to achieve a snug and ergonomic fit, minimizing discomfort during prolonged use.
Consider the bag’s padding, ventilation, and adjustability when choosing a carrying method that suits your shooting style and environment.
Proper weight distribution and comfort contribute to a more enjoyable and productive shooting experience, allowing you to focus on capturing images rather than feeling fatigued or distracted by an uncomfortable bag.
Tip 7: Close and Secure the Bag Properly
Before moving or storing your camera bag, ensure all compartments are securely closed and fastened.
Double-check zippers, clasps, or Velcro closures to prevent accidental openings that could expose your gear to dust, moisture, or potential damage.
Some bags come with additional security features such as lockable zippers or hidden compartments for added peace of mind when traveling or shooting in crowded areas.
Properly securing your bag not only protects your equipment but also reduces the risk of theft or loss, allowing you to focus on your photography without unnecessary worries.
By following these 7 fitting tips, you can effectively organize and protect your camera gear within a bag, ensuring optimal functionality, accessibility, and comfort during your photography adventures.
Related Faq’s
What type of bag should I use to fit my camera?
Choose a bag specifically designed for cameras, such as a backpack, shoulder bag, or sling bag with padded compartments and adjustable dividers. Ensure it can accommodate your camera body, lenses, and accessories comfortably.
How should I position my camera inside the bag?
Place your camera with the lens facing downward to minimize dust on the sensor. Larger and heavier lenses should be positioned towards the bottom of the bag to maintain balance.
Do I need to remove the lens before fitting my camera into the bag?
It’s advisable to cap your lenses and power off your camera before fitting it into the bag. This helps protect both the camera and lenses from accidental damage.
How do I secure smaller accessories like batteries and memory cards?
Use dedicated pockets or pouches within the bag to secure smaller accessories. This prevents them from shifting or getting lost and makes them easily accessible when needed.
Should I use padded dividers or inserts in my camera bag?
Yes, padded dividers or inserts help create customized compartments for your camera gear. They provide added protection against impacts and ensure each item is securely held in place.
What should I consider when choosing a camera bag for travel?
When traveling, consider a bag that offers weather resistance, comfortable carrying options, and security features like lockable zippers. Ensure it meets airline carry-on size restrictions if you plan to take it on flights.
How do I ensure my camera bag is comfortable to carry?
Adjust the bag’s straps to distribute weight evenly across your shoulders or back. Choose a bag with padded straps and breathable materials for comfort during long periods of use.
Conclusion
Fitting a camera to a bag involves careful consideration of the type of bag, organization of equipment, and ensuring proper protection during transport.
Choosing a dedicated camera bag with padded compartments and adjustable dividers is essential for safeguarding your gear from damage.
Positioning the camera and lenses strategically, securing smaller accessories, and ensuring comfort while carrying are additional factors to prioritize.
By following these steps, photographers can optimize their workflow, protect their equipment, and enhance overall efficiency and convenience during shoots or travel.


