
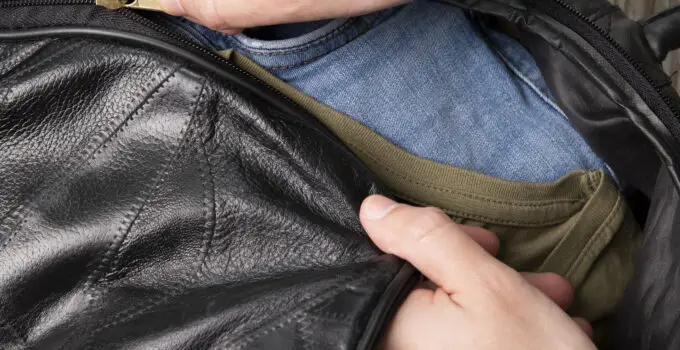
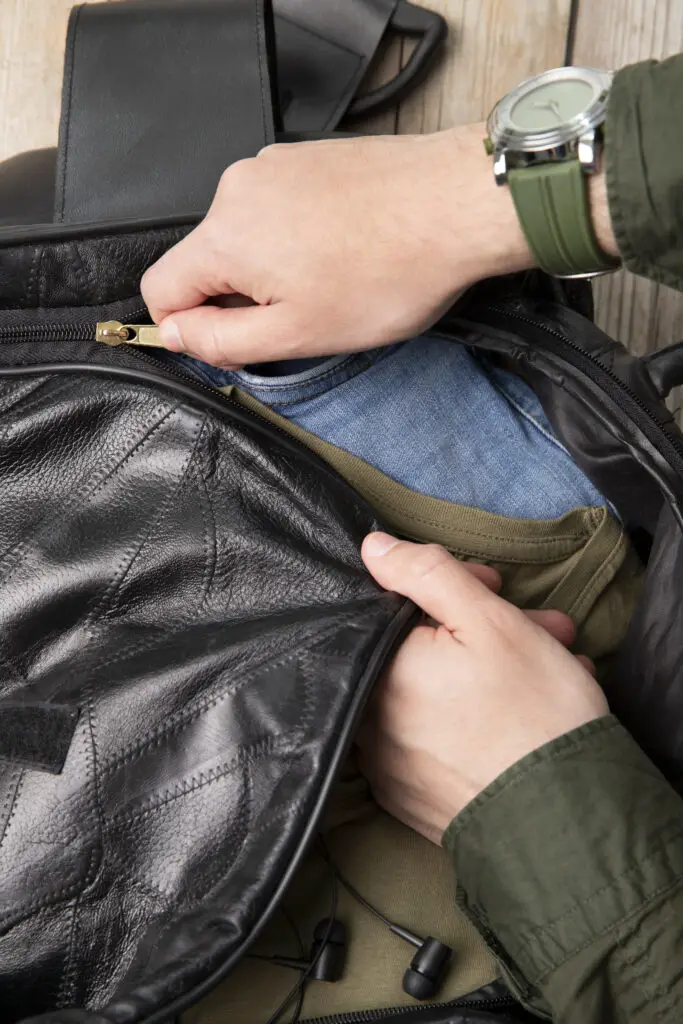
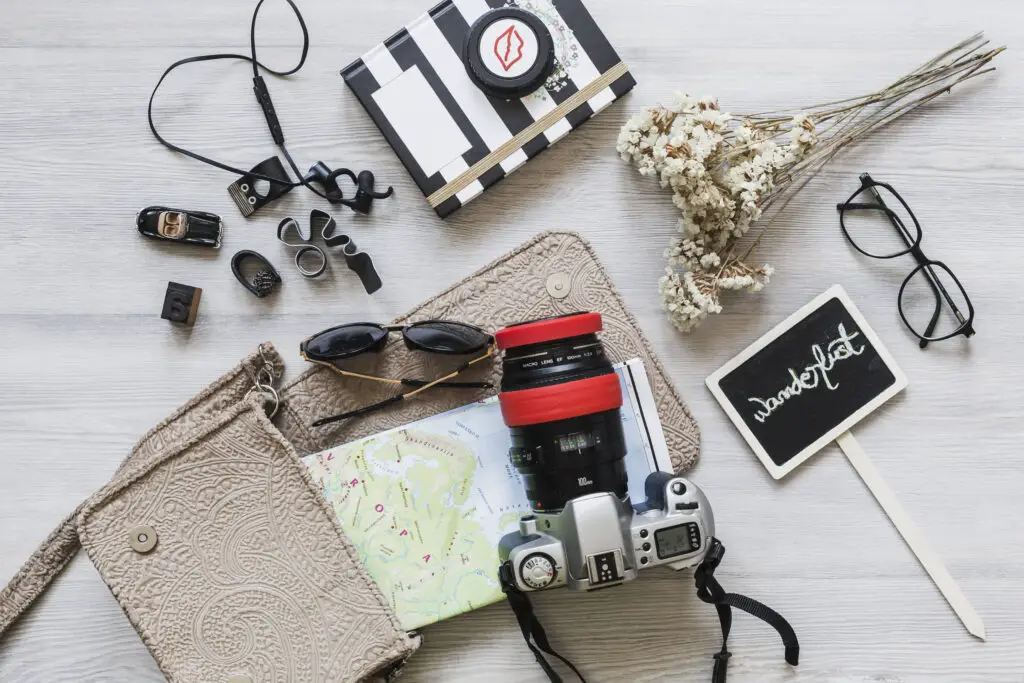
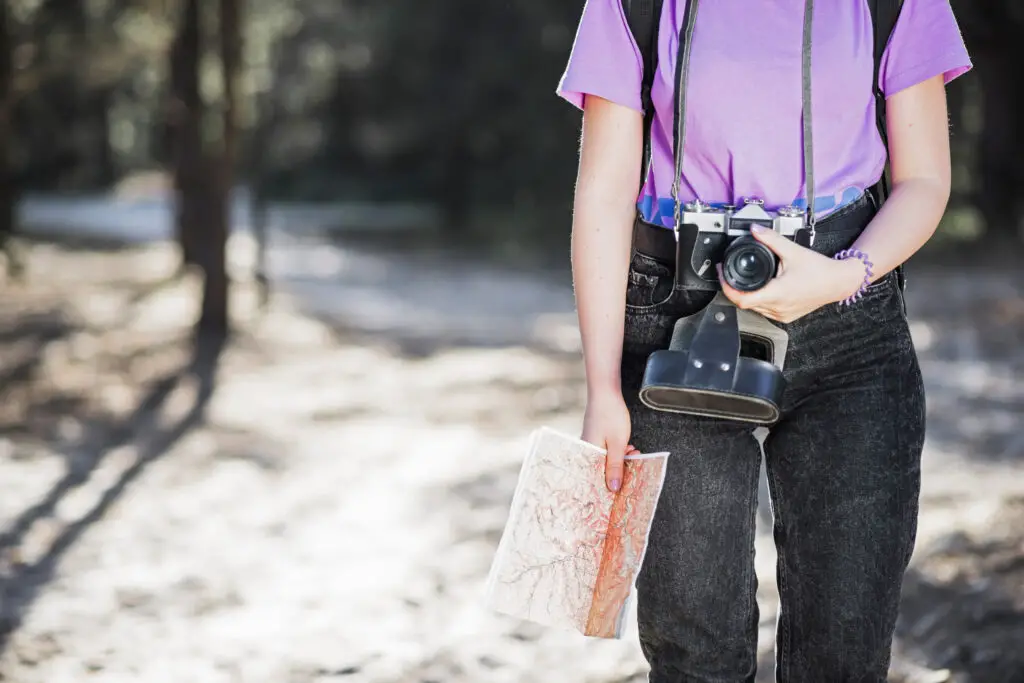
Have you ever wondered how to protect your camera while on the go? Adding camera padding to your bag is an essential step to ensure your equipment stays safe and secure.
This simple yet effective measure can prevent damage from bumps, drops, and everyday wear and tear.
Whether you’re a professional photographer or a casual hobbyist, having a well-padded camera bag can make all the difference in preserving the longevity of your gear.
By using specialized inserts or DIY solutions, you can create a customized, cushioned environment for your camera and accessories, allowing you to travel with peace of mind.
Here how to package a camera lens for shipping?
What is camera padding to bag?
Camera padding for a bag refers to the protective materials or inserts designed to cushion and secure a camera and its accessories within a bag.
This padding is crucial for safeguarding delicate camera equipment from damage due to shocks, bumps, and drops during transport.
Typically made from foam, neoprene, or other shock-absorbing materials, camera padding is strategically placed within the bag to create compartments that fit various camera components snugly.
Many camera bags come with adjustable and removable padded dividers, allowing users to customize the interior layout to accommodate different gear configurations.
This flexibility ensures that each item is securely held in place, reducing the risk of scratches, lens damage, or other impacts.
Effective camera padding not only provides physical protection but also contributes to the longevity and performance of the camera equipment by maintaining its condition during travel and storage.
Is it important to add camera padding to bag?
Yes, adding camera padding to a bag is crucial. Camera equipment is often delicate and expensive, making it vulnerable to damage from shocks, drops, and rough handling.
Padding acts as a protective barrier, absorbing impacts and preventing scratches, dents, and other forms of damage.
Camera padding also helps in organizing gear. Padded dividers create compartments that keep items like lenses, bodies, and accessories separated, reducing the risk of items colliding and causing damage.
This organization also makes it easier to access and retrieve specific items quickly.
Moreover, proper padding maintains the equipment’s condition, extending its lifespan and ensuring it performs optimally.
For professionals, this can mean the difference between a successful shoot and equipment failure. For enthusiasts, it ensures the longevity of their investment.
In essence, camera padding is essential for both protecting valuable gear and facilitating efficient, safe transport and storage.
Why to add camera padding to bag?
Adding camera padding to a bag is essential for several reasons. Firstly, it provides protection against physical damage.
Cameras and lenses are delicate and can be easily damaged by drops, bumps, or rough handling. Padding absorbs shocks, preventing scratches, dents, and breakages.
Here, how do you pack a camera lens in a bag nikon?
Secondly, padding helps in organizing the gear. Padded dividers create separate compartments for each piece of equipment, ensuring they don’t collide and cause damage to each other.
This organization also makes it easier to find and access specific items quickly, enhancing efficiency during shoots.
Thirdly, proper padding extends the lifespan of the equipment. By maintaining the gear in good condition, it ensures optimal performance and reduces the need for costly repairs or replacements.
For both professionals and enthusiasts, this means better reliability and value from their investment. In summary, camera padding is crucial for protecting, organizing, and preserving camera equipment
Things to know before adding camera padding to bag
Before adding camera padding to a bag, it’s essential to consider a few key factors. First, understand the specific dimensions and shapes of your camera gear to ensure the padding fits properly and provides adequate protection.
Customizable padding options, like adjustable dividers, are beneficial for accommodating different equipment configurations.
Second, consider the material of the padding. High-density foam or neoprene are popular choices due to their shock-absorbing properties and durability.
Ensure the padding material is of high quality to offer maximum protection.
Third, assess the bag’s overall structure and compartments.
Ensure it has enough space to accommodate padded inserts without compromising accessibility and comfort. The padding should not overly bulk up the bag, making it cumbersome to carry.
Finally, think about the ease of access. Ensure the padded compartments allow quick and easy retrieval of your gear, essential for efficiency during shoots. Properly planned padding enhances protection, organization, and convenient.
How to add camera padding to bag?
9 Steps to add camera padding to bag
5 Methds to add camera padding to bag
5 benefits to add camera padding to bag
Sure, here are five benefits of adding camera padding to a bag:
1. Enhanced Protection
Adding padding to a camera bag significantly enhances protection for your valuable equipment.
Cameras, lenses, and other accessories are delicate and can be easily damaged by impacts, vibrations, or rough handling. Padding acts as a cushion, absorbing shocks and preventing damage from drops or knocks.
Details:
- Impact Absorption: High-density foam or neoprene padding absorbs the energy from impacts, reducing the risk of internal damage to sensitive electronics and glass components.
- Scratch Prevention: Padding provides a barrier between your gear and potential abrasive surfaces, preventing scratches and scuffs on lenses and camera bodies.
- Peace of Mind: Knowing your equipment is well-protected allows you to transport your gear with confidence, whether you’re hiking, traveling, or working on a professional shoot.
2. Improved Organization
Camera padding, particularly when it includes customizable dividers, helps keep your gear organized.
This organization ensures that each piece of equipment has its own designated space, making it easier to locate and access items quickly.
Details:
- Custom Compartments: Adjustable dividers can be arranged to create custom compartments for different pieces of gear, ensuring a snug fit and preventing movement.
- Quick Access: Organized compartments allow for quick access to specific items, saving time during shoots and reducing the risk of missing important shots.
- Reduced Clutter: By keeping everything in its place, padding reduces clutter inside the bag, making it easier to manage and transport multiple items.
3. Longevity of Equipment
Using proper padding can extend the lifespan of your camera equipment.
Regular exposure to shocks and vibrations can lead to wear and tear over time, affecting the performance and reliability of your gear.
Details:
- Reduced Wear and Tear: Padding minimizes the mechanical stress on your equipment, preventing issues such as loose components, malfunctioning parts, and degraded image quality.
- Maintained Performance: Well-protected gear is less likely to suffer from performance issues, ensuring that your camera and lenses continue to function optimally.
- Investment Protection: High-quality camera gear is a significant investment. Padding helps protect this investment by reducing the need for repairs or replacements due to damage.
4. Versatility and Adaptability
Padding makes your camera bag more versatile and adaptable to different types of gear and shooting scenarios.
With adjustable dividers and customizable padding, you can easily reconfigure the bag’s interior to accommodate various equipment setups.
Details:
- Flexible Layouts: Adjustable dividers can be repositioned to fit different sizes and shapes of gear, allowing you to use the same bag for different projects.
- Future-Proofing: As your equipment collection grows or changes, customizable padding ensures your bag can adapt to new gear without needing to purchase a new bag.
- Multi-Purpose Use: Versatile padding allows your bag to be used for purposes beyond carrying camera gear, such as transporting drones, audio equipment, or other sensitive electronics.
5. Comfort and Convenience
Padding not only protects your gear but also enhances the comfort and convenience of carrying your camera bag.
Well-designed padding distributes weight evenly and provides additional support, making it easier to carry heavy equipment for extended periods.
Details:
- Weight Distribution: Proper padding helps distribute the weight of the gear evenly, reducing strain on your back and shoulders.
- Ergonomic Support: Padded shoulder straps and back panels enhance comfort, especially during long shoots or while traveling.
- Ease of Transport: With well-organized and protected gear, packing and unpacking become more efficient, saving time and effort during shoots or travel.
In summary, adding camera padding to your bag offers numerous benefits, including enhanced protection, improved organization, extended equipment lifespan, versatility, and increased comfort and convenience. These advantages make padding an essential component for any photographer or videographer.
Related faq’s
What Materials Are Best for Camera Padding?
High-density foam, neoprene, and padded inserts are the best materials for camera padding.
These materials provide excellent shock absorption and durability, protecting delicate camera equipment from impacts and vibrations.
How Can I Customize Padding for Different Gear Configurations?
You can customize padding using adjustable padded dividers or DIY foam inserts. Adjustable dividers can be repositioned to fit different sizes and shapes of gear, while DIY foam inserts can be cut to specific dimensions, creating tailored compartments for each piece of equipment.
Can I Use Any Bag for My Camera with Added Padding?
While you can add padding to many types of bags, it’s best to use a bag that offers a sturdy structure and sufficient space.
Backpacks, messenger bags, and specialized camera bags are ideal, as they provide the necessary support and room for both padding and gear.
How Do I Ensure the Padding Stays in Place?
To ensure the padding stays in place, use high-quality materials and secure them properly within the bag.
Velcro strips, adhesive-backed foam, or tight-fitting inserts can help keep the padding from shifting. Additionally, ensure that the bag’s compartments are tightly packed to minimize movement.
5. Is DIY Padding Effective for Camera Protection?
Yes, DIY padding can be very effective if done correctly.
Using high-density foam or neoprene and accurately measuring and cutting the padding to fit your gear and bag can provide excellent protection. Customization allows for a snug fit, ensuring maximum shock absorption and stability.
How Do I Organize My Camera Gear with Padding?
Organize your camera gear by creating custom compartments with adjustable dividers or cut foam.
Place heavier items at the bottom and frequently used items in easily accessible areas. Ensure each item has its own padded space to prevent movement and collisions, enhancing both protection and organization.
7an I Repurpose Existing Items for Camera Padding?
Yes, you can repurpose items like laptop sleeves, small electronics cases, or even thick fabric and bubble wrap as padding.
These items can provide adequate protection and help organize your gear within the bag. However, ensure they fit well and offer sufficient cushioning for your specific equipment.
Conclusion
In conclusion, adding camera padding to your bag is essential for protecting your valuable equipment from damage during transport and storage.
Whether using pre-made inserts, DIY foam padding, or repurposed materials like neoprene sleeves or padded wraps, the goal is to create a secure environment that absorbs shocks and prevents scratches.
Properly organized padding not only enhances protection but also improves the accessibility and longevity of your gear. By investing time in selecting the right materials and arranging them effectively, you can ensure that your camera equipment remains safe, organized, and ready for use in any shooting situation.


