Do you love taking photos but feel overwhelmed when it comes to organising your gear? Setting up a photo bag for your camera can be a daunting task, but it doesn’t have to be.
With a little bit of planning and some expert tips, you can create a customised photo bag that will keep your equipment safe and organised.
In short, the article will guide you on how to best set up a photo bag for your camera. From choosing the right bag to organizing your gear, we’ll cover everything you need to know.
We’ll also provide tips on how to maximise space and minimise weight, so you can carry everything you need without weighing yourself down.
If you’re ready to take your photography to the next level and create a streamlined system for your gear, then keep reading.
With the help of our expert tips and tricks, you’ll be on your way to a well-organized and efficient photo bag in no time. So, let’s dive in and start organizing.
How to best set up photo bag for my camera? 3 simple steps
If you are in hurry and want to set up your photo bag. Here are three simple steps to set up your photo bag for your camera:
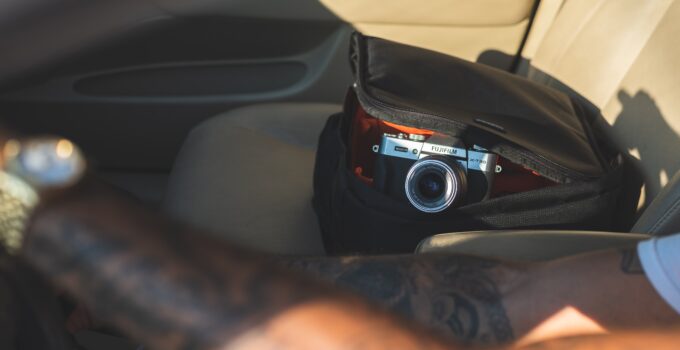
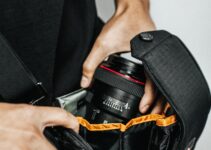
- Place your camera body in the main compartment of the bag. Make sure it is secure and protected by using a padded divider or wrapping it in a protective case.
- Store your lenses in the lens compartments of the bag. Keep them with the rear lens cap on and the lens hood attached to prevent any damage.
- Keep your memory cards, spare batteries, and cleaning kit in separate pockets or pouches. This will keep them organized and easy to access when you need them.
Remember to always be mindful of the weight and balance of your bag to prevent unnecessary strain on your back and shoulders.
How to best set up photo bag for my camera?
Just wondered how to best set up photo bag for my camera? Here are seven ways to set up your photo bag for your camera:
1. Camera Body:
Place your camera body in the main compartment of the bag. Make sure it is secure and protected by wrapping it in a protective case or using a padded divider.
2.Lenses:
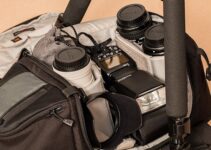
Place your lenses in the lens compartments of the bag. Be sure to store them with the rear lens cap on and the lens hood attached to prevent any damage.
3. Memory Cards:
Store your memory cards in a dedicated pocket or pouch. Keep them in a protective case to prevent damage from moisture, dust, or scratches.

4. Filters:
Place your filters in a filter pouch and store them in the accessory compartment. This will keep them organized and easy to access when you need them.
5. Batteries:
Keep your spare batteries in a separate compartment of the bag. Make sure they are fully charged before putting them in the bag.
6. Cleaning Kit:
Store your cleaning kit in a separate pocket or pouch. This should include a microfiber cloth, lens cleaning solution, and a blower brush.
7. Tripod:
If you plan on bringing a tripod, attach it to the bag using the straps or loops provided. This will free up your hands and make it easier to transport your gear.
Remember to always be mindful of the weight and balance of your bag. Overloading it can put unnecessary strain on your back and shoulders.
Now let’s move to conclusion.
Conclusion:
In conclusion, setting up a photo bag for your camera is a crucial task for any photographer. The key to setting up your photo bag is to have a clear idea of the equipment you need, the frequency of use, and the type of bag that suits your needs.
By organising your gear and investing in high-quality protective gear, you can ensure the safety of your equipment and maximize your productivity.
Additionally, considering the weight and balance of your bag and regularly assessing and updating your equipment will ensure that your bag is always up-to-date and comfortable to carry.
Overall, a well-organized photo bag can make a huge difference in the success of your photography.

