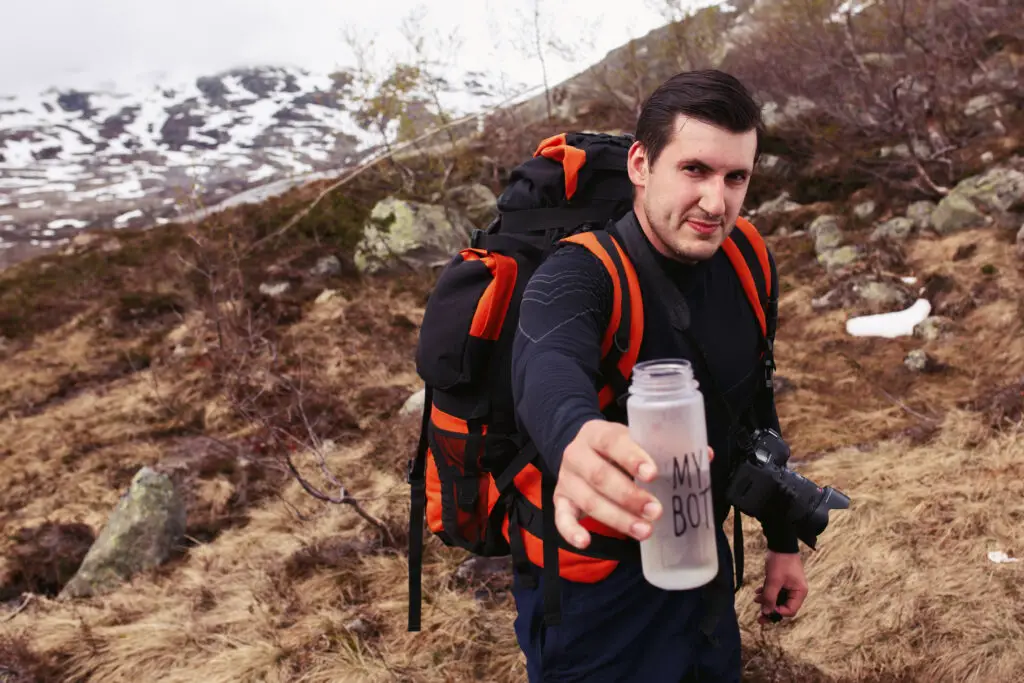
Looking to capture stunning landscapes while hiking? Safely carrying your camera in a hiking backpack is essential for both convenience and protection.
Whether you’re an amateur photographer or a seasoned pro, ensuring your gear is secure and accessible can enhance your outdoor experience.
In this guide, we’ll explore the best methods to pack your camera, from choosing the right backpack to using protective cases and dividers.
By following these tips, you can enjoy your hike without worrying about damaging your equipment while ensuring you’re ready to snap that perfect shot at a moment’s notice.
Here how to make a fanny pack camera bag?
Is it worth to know how to carry a camera in a hiking backpack?
Knowing how to carry a camera in a hiking backpack is definitely worth it for outdoor enthusiasts and photographers alike.
Properly securing your camera not only protects it from damage but also allows for quick access when capturing spontaneous moments.
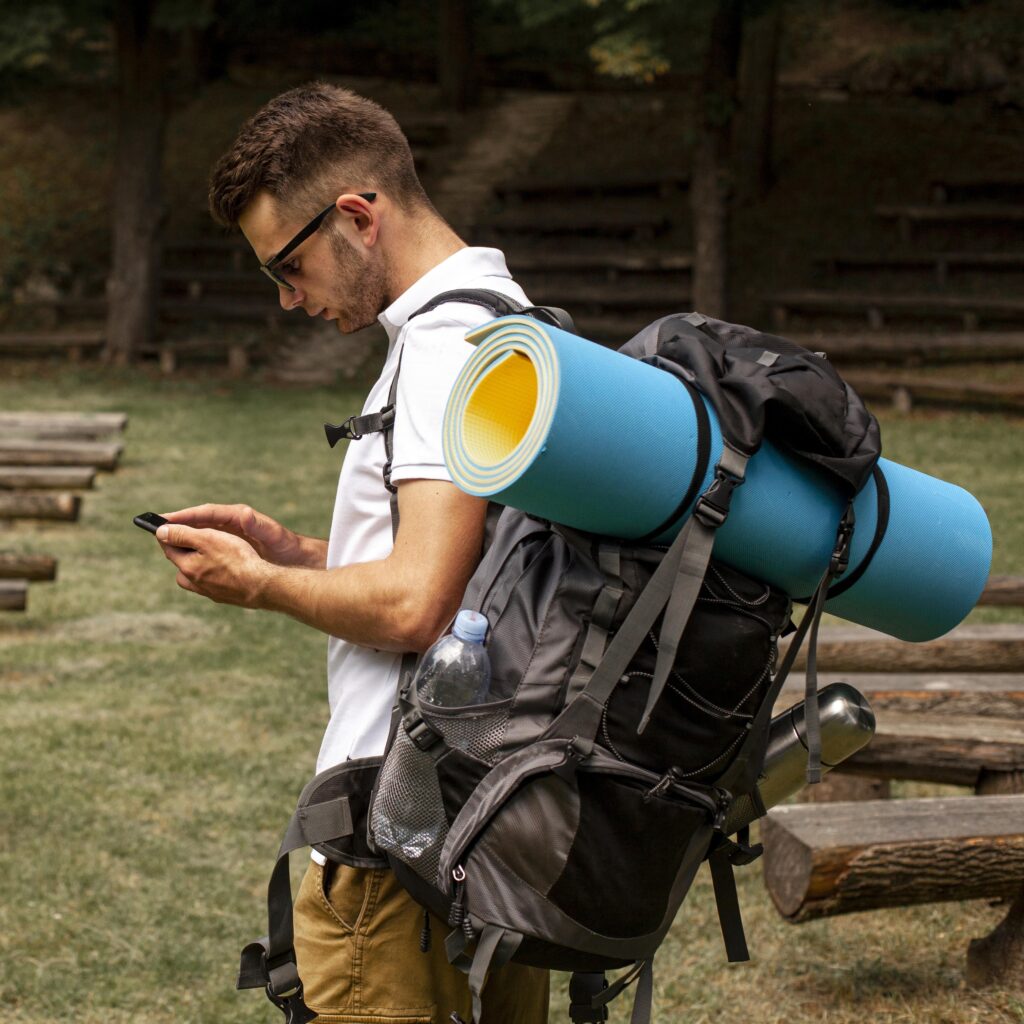
A well-organized backpack can distribute weight evenly, reducing strain on your body during long hikes. Additionally, utilizing padded inserts or specialized compartments helps shield your gear from moisture and impact.
Strategically positioning your camera can also enhance your hiking experience, ensuring you’re always ready for breathtaking landscapes or wildlife encounters.
Understanding how to carry your camera effectively can prevent accidents and prolong the life of your equipment.
Ultimately, mastering this skill enhances both your hiking adventures and photography outcomes, making it a valuable investment in your outdoor pursuits.
Is it important to know how to carry a camera in a hiking backpack?
Yes, knowing how to carry a camera in a hiking backpack is important for several reasons. First, it ensures the protection of your gear against environmental factors like moisture, dust, and impacts during your hike.
A well-organized backpack allows for quick and easy access to your camera, enabling you to capture spontaneous moments without fumbling through your pack.
Here, how to use your dividers in your camera bag?
Proper weight distribution is crucial for comfort on long hikes; a balanced load helps prevent fatigue and strain.
Using padded inserts or specific compartments can safeguard your equipment while maintaining a compact packing solution.
Additionally, understanding how to secure your camera fosters confidence in your outdoor adventures, allowing you to focus more on enjoying nature and less on worrying about your gear.
Overall, mastering this skill enhances both your hiking experience and your photography opportunities, making it an essential consideration for outdoor photographers.
Things to know before carrying a camera in a hiking backpack?
Before carrying a camera in a hiking backpack, consider these key points:
- Protection: Use padded inserts or a dedicated camera bag to shield your gear from impacts, moisture, and dust.
- Accessibility: Choose a location in your pack that allows for quick access to your camera without needing to unpack everything.
- Weight Distribution: Distribute the weight evenly to maintain balance and prevent strain during long hikes. Place heavier items closer to your back.
- Secure Straps: Ensure your camera is secured with straps or dividers to prevent movement while hiking.
- Weather Considerations: Be prepared for changing weather conditions. Use weather-resistant covers or bags to protect your equipment from rain or snow.
- Plan for Battery Life: Carry extra batteries and memory cards, as cold weather can deplete battery life quickly.
By considering these factors, you can ensure a smoother hiking and photography experience.
How to carry a camera in a hiking backpack?
To carry a camera in a hiking backpack effectively, start by using a dedicated camera bag or padded insert to provide protection against impacts and moisture.
Place the camera in a compartment that allows for quick access, ideally positioned near the top or side of the pack.
Use dividers to secure the camera and lenses, preventing them from shifting during the hike.
Here, is it safe to pack a camera bag inside a camera when going through airpot security?
Ensure the weight is distributed evenly by placing heavier items close to your back, which helps maintain balance.
Use external straps or pockets for additional items like tripods or filters, keeping them secure but accessible.
If you’re hiking in varying weather conditions, consider a weatherproof cover for your backpack and camera.
Finally, regularly check that your gear is secure before setting off, so you can focus on enjoying the hike and capturing great moments without worry.
7 steps to carry a camera in a hiking backpack
1. Choose the Right Backpack
Selecting a suitable backpack is crucial for carrying your camera safely.
Look for a hiking backpack designed with dedicated compartments for photography gear, or one that allows you to add padded inserts.
A backpack with adjustable straps and a comfortable fit will make long hikes more manageable. Ensure it has a weather-resistant cover to protect your equipment from rain or moisture.
Consider the size of the backpack as well—enough to accommodate your camera and additional gear without being too bulky or heavy. Opt for a backpack with multiple pockets for organization, making it easier to access essential items quickly.
Ultimately, the right backpack will enhance your hiking experience while ensuring your camera remains secure and protected.
2. Use Padded Inserts
Padded inserts are essential for safeguarding your camera and lenses during hikes. These inserts provide cushioning that absorbs shocks and prevents damage from impacts.
When packing, place the camera body in the insert’s main compartment and secure it with dividers to prevent movement. Ensure that lenses are also well-protected, ideally in separate compartments or padded sleeves.
You can purchase adjustable inserts that fit snugly into your backpack, allowing you to customize the layout according to your gear. Additionally, consider using lens caps and protective filters to further shield your lenses from scratches and dirt.
Properly utilizing padded inserts not only prolongs the life of your equipment but also gives you peace of mind while navigating challenging trails.
3. Organize Your Gear
Effective organization of your camera gear is vital for efficiency and convenience during hikes.
Start by categorizing your equipment: camera body, lenses, batteries, memory cards, and accessories. Place frequently used items, like the camera and a primary lens, in easily accessible compartments of your backpack.
Use smaller pockets or pouches for accessories like extra batteries and lens wipes, ensuring they’re secure yet reachable.
Here, what can be placed in a camera bag to reduce the moister?
Consider packing items in a way that allows you to retrieve them without having to unpack everything. A well-organized backpack saves time and frustration when you want to capture spontaneous moments.
Additionally, it minimizes the risk of losing or damaging gear during the hike, ensuring everything is in its designated spot.
4. Distribute Weight Evenly
Even weight distribution is crucial for maintaining balance and comfort on a hike. Place heavier items, such as the camera body and larger lenses, close to your back to keep the center of gravity aligned with your body.
Avoid packing heavy items at the bottom of the backpack, as this can make it harder to carry and lead to instability. Use side pockets for lighter items or accessories that you may need to access quickly.
Adjust the straps of your backpack to fit snugly against your body, reducing movement and ensuring that the load feels balanced.
By prioritizing weight distribution, you’ll enhance your hiking experience, reducing fatigue and strain on your body.
5. Secure Your Camera
Securing your camera within the backpack is essential to prevent accidental damage during your hike.
Use internal straps or padded dividers to hold your camera firmly in place, preventing it from shifting with movement.
When placing the camera in the backpack, ensure that it’s positioned in a way that prevents any contact with other items, which can lead to scratches or impacts.
Consider using a lens hood or protective case for additional security. Before setting off on your hike, double-check that your camera is securely stored and that all compartments are zipped or fastened.
This attention to detail will help protect your gear and give you peace of mind as you navigate through various terrains.
6. Prepare for Weather Conditions
Being prepared for weather conditions is vital when carrying a camera on a hike. Start by checking the forecast before your trip, and pack accordingly.
Use a weather-resistant camera bag or backpack to shield your gear from rain, snow, or dust. Consider packing a rain cover specifically designed for your backpack to provide an extra layer of protection.
Additionally, keep silica gel packs in your bag to absorb moisture and prevent condensation inside the camera. If you’re hiking in colder conditions, bring extra batteries, as cold weather can deplete battery life quickly.
Always have a microfiber cloth handy to wipe away any moisture or dirt from your lenses.
By anticipating weather conditions and preparing adequately, you can protect your camera gear and ensure a smoother hiking experience.
7. Practice Safe Handling
Practicing safe handling of your camera during a hike is crucial for preventing accidents and ensuring your gear remains in top condition.
Always use both hands when removing the camera from your backpack to minimize the risk of dropping it.
When you’re not actively taking photos, keep the camera secured in its compartment to prevent accidental bumps or falls. Be mindful of your surroundings; avoid placing your camera on unstable surfaces or where it could be knocked over.
Here, 10 best tamrac camera bags.
If you’re using a tripod, ensure it’s set up securely, and never leave your camera unattended. When hiking in crowded or rugged areas, remain aware of potential hazards.
By adopting safe handling practices, you can enjoy your photography experience without unnecessary worry about damaging your equipment.
5 Methods to carry a camera in a hiking backpack
1. Using a Dedicated Camera Backpack
A dedicated camera backpack is specifically designed to protect and organize photography gear while hiking.
These backpacks come with padded compartments and adjustable dividers that allow you to customize the interior layout according to your equipment.
When choosing a camera backpack, look for one that fits your body comfortably, as you may be carrying it for several hours.
Many dedicated camera backpacks also feature weather-resistant materials or built-in rain covers to safeguard your gear from the elements.
These backpacks often include additional compartments for personal items like snacks, water, and maps, allowing you to carry everything you need in one pack.
Some models even have external straps for securing tripods or other accessories, making them versatile for outdoor adventures.
By using a dedicated camera backpack, you ensure your equipment is well-protected, easily accessible, and comfortably carried, enhancing your overall hiking and photography experience.
2. Utilizing Padded Inserts
Padded inserts are a practical solution for carrying a camera in a regular hiking backpack. These inserts provide cushioning and structure, keeping your gear safe from bumps and impacts.
They can be purchased separately and are designed to fit various backpack sizes, allowing you to convert a standard hiking pack into a camera-friendly option.
To use padded inserts, place them inside your backpack, ensuring a snug fit. Organize your camera body, lenses, and accessories within the insert, securing them with dividers.
This organization prevents movement and reduces the risk of damage while hiking. Padded inserts also offer the flexibility to carry non-photography gear alongside your camera.
Additionally, some inserts come with waterproof materials, providing extra protection against moisture.
By utilizing padded inserts, you can maintain the versatility of your hiking backpack while ensuring your camera equipment is secure and well-protected during your outdoor adventures.
3. Camera Slings and Harnesses
Camera slings and harnesses offer an alternative method for carrying a camera while hiking, providing quick access and ease of use.
These accessories allow you to secure your camera to your body, ensuring it’s always ready for spontaneous shots without needing to dig through your backpack.
A camera sling typically crosses over one shoulder, resting against your hip, while a harness distributes the weight across both shoulders for added comfort.
When using a camera sling, it’s important to choose one with a padded strap to prevent discomfort during long hikes. Many slings also feature quick-release mechanisms, making it easy to detach the camera when needed.
Harnesses often come with additional pockets for storing lenses or accessories, making them a versatile option for photographers.
By using a camera sling or harness, you combine accessibility and comfort, allowing you to enjoy your hike while being prepared to capture breathtaking moments without delay.
4. External Gear Straps
External gear straps are a simple yet effective method for carrying camera equipment on your hiking backpack. Many backpacks come with built-in attachment points or loops designed to secure additional gear.
You can use these straps to attach items like tripods, monopods, or even smaller camera bags to the exterior of your pack.
Here, can i bring my camera bag on a plane?
When using external straps, ensure that your camera or accessory is securely fastened to prevent it from swinging or bouncing during your hike.
Some photographers prefer to use specialized camera bags or cases that can be strapped to the outside, providing easy access while keeping the bulk of the weight inside the pack.
It’s also essential to check that your attachments don’t obstruct your movement or create a safety hazard while navigating rugged terrain.
Utilizing external gear straps allows for additional flexibility in your packing strategy, enabling you to carry your essential photography equipment without compromising the interior space of your hiking backpack.
5. Camera Wraps or Cases
Camera wraps or cases are another effective method for transporting your camera in a hiking backpack. These wraps provide cushioning and protection without taking up too much space.
They are typically made from padded materials that safeguard your camera against impacts and scratches while being lightweight and compact.
To use a camera wrap, simply place your camera inside and secure it with Velcro or zippers. This method is particularly useful for those who may not have a dedicated camera backpack or prefer to use a regular hiking pack.
By wrapping your camera, you can easily fit it alongside your other gear without sacrificing protection.
Some camera wraps come with additional pockets for storing extra batteries, memory cards, or lens caps, adding convenience. When packing, place the wrapped camera in a secure compartment within your backpack to prevent shifting.
By using camera wraps or cases, you ensure that your equipment remains protected while enjoying the flexibility of carrying your camera in various types of backpacks.
7 tips to carry a camera in a hiking place
1. Choose the Right Camera Bag
Selecting an appropriate camera bag is essential for hiking. Look for a bag designed for outdoor use, offering padded compartments to protect your gear from impacts.
Opt for a lightweight and comfortable design, with adjustable straps to ensure a proper fit. Weather-resistant materials or a rain cover will help safeguard your camera against moisture.
Here, how to attached strap to polaroid camera?
A bag with easy-access pockets allows you to quickly grab your camera for spontaneous shots. Additionally, consider the size: it should accommodate your camera and accessories without being overly bulky.
The right camera bag enhances your hiking experience by ensuring your gear is secure and protected while remaining accessible when needed.
2. Use Padded Inserts
Padded inserts are an effective way to protect your camera when using a standard hiking backpack.
These inserts fit snugly inside your bag and provide cushioning, safeguarding your equipment from shocks and impacts. Organize your camera body, lenses, and accessories within the insert to prevent movement during the hike.
This setup allows you to utilize a versatile backpack while ensuring your gear is secure. Choose inserts made from durable, moisture-resistant materials for added protection.
By using padded inserts, you can enjoy the convenience of a hiking backpack without compromising the safety of your camera equipment on the trail.
3. Distribute Weight Evenly
Proper weight distribution is crucial when carrying a camera on a hike. Place heavier items, such as the camera body and lenses, close to your back to maintain balance and stability.
Avoid putting heavy gear at the bottom of the pack, which can cause strain and make hiking more difficult. Use side pockets for lighter items and snacks, ensuring a balanced load.
Adjust the straps to fit snugly against your body, reducing movement while walking.
By distributing weight evenly, you’ll enhance comfort and reduce fatigue, making your hiking experience more enjoyable while ensuring your camera remains protected.
4. Secure Your Camera
Securing your camera within your backpack is vital to prevent damage during your hike. Use padded dividers or internal straps to hold the camera firmly in place, minimizing movement.
Before setting off, double-check that your camera is tucked away securely and all compartments are zipped or fastened.
Consider using additional protective covers or lens caps to safeguard against scratches and dirt.
When you stop for a photo, always hold the camera with both hands to avoid dropping it. By taking these precautions, you can enjoy your hike with peace of mind, knowing your camera is safe and secure.
Here, which way to place camera in bag?
5. Prepare for Weather Conditions
Being prepared for varying weather conditions is essential when hiking with a camera. Always check the forecast before heading out and pack accordingly.
Use a weather-resistant backpack or camera bag to protect your gear from rain, snow, or dust. Consider bringing a rain cover specifically designed for your backpack to provide extra protection.
Carry silica gel packs to absorb moisture and prevent condensation inside your camera. If hiking in colder temperatures, bring extra batteries, as cold can drain battery life quickly.
By anticipating weather changes and preparing properly, you can safeguard your camera equipment and ensure a smoother hiking experience.
6. Keep Extra Gear Handy
Having extra gear on hand is crucial for a successful hiking and photography experience.
Always carry additional batteries, memory cards, and lens cleaning supplies. Cold weather can quickly deplete battery life, so extra batteries ensure you won’t miss important shots.
Carry spare memory cards to avoid running out of storage space during your hike. A small microfiber cloth is essential for cleaning lenses and keeping your gear in optimal condition.
Organize these items in easily accessible pockets or pouches within your backpack, so you can quickly grab what you need without rummaging through your pack. Being prepared with extra gear enhances your confidence and readiness while exploring the outdoors.
7. Practice Safe Handling
Practicing safe handling of your camera while hiking is crucial to prevent accidents and damage.
Always use both hands when taking your camera out of your backpack to minimize the risk of dropping it. When not in use, keep your camera securely stored in its compartment to avoid bumps and scratches.
Be mindful of your surroundings and avoid placing your camera on unstable surfaces. If using a tripod, ensure it is set up securely and never leave your camera unattended.
By adopting safe handling practices, you can focus on enjoying your hike while protecting your equipment from unnecessary risks.
5 Benefits to carry a camera in a hiking backpack
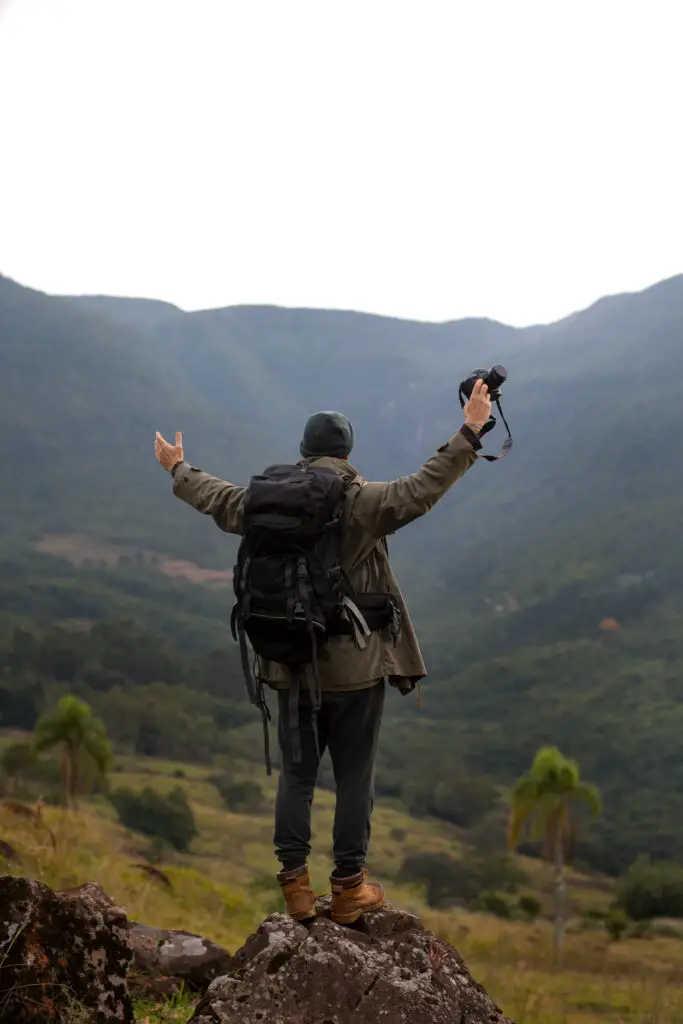
1. Capture Stunning Landscapes
Carrying a camera in a hiking backpack allows you to capture breathtaking landscapes and natural beauty that you encounter on your journey.
Whether it’s a panoramic view from a mountain summit or a serene forest scene, having your camera ready enables you to document these moments. Photography not only enhances your experience but also allows you to share your adventures with others.
By capturing these stunning visuals, you can create lasting memories and inspire others to appreciate the outdoors.
Additionally, photography encourages you to explore new perspectives and notice details you might otherwise overlook, enriching your overall hiking experience.
2. Document Wildlife Encounters
One of the joys of hiking is the opportunity to encounter wildlife in their natural habitats.
Carrying a camera gives you the chance to document these encounters, whether it’s a majestic eagle soaring overhead or a shy deer peeking through the trees. Capturing these moments not only creates beautiful photographs but also helps raise awareness about wildlife conservation.
Each image serves as a reminder of the importance of preserving natural habitats. Additionally, documenting wildlife can enhance your understanding of local ecosystems, encouraging a deeper appreciation for nature.
Having a camera on hand transforms fleeting moments into lasting memories and valuable educational experiences.
3. Enhance Your Hiking Experience
Having a camera while hiking significantly enhances your overall experience.
The act of photographing encourages you to engage more deeply with your surroundings, fostering a greater appreciation for nature’s beauty.
As you search for unique shots or interesting compositions, you become more observant of the landscape, light, and intricate details around you.
This heightened awareness can lead to a more fulfilling and mindful hiking experience, allowing you to enjoy the journey beyond just reaching the destination.
Moreover, the challenge of capturing the perfect shot can add an element of adventure and creativity to your hike, making each outing feel more rewarding.
4. Share Your Adventures
Carrying a camera enables you to share your hiking adventures with friends, family, and the broader community.
Photographs serve as powerful storytelling tools, allowing you to convey the beauty and excitement of your journeys.
Sharing your images on social media or with personal contacts can inspire others to explore the outdoors and embark on their adventures.
Additionally, documenting your hikes creates a visual diary, allowing you to reflect on past experiences and personal growth.
Whether through blogs, social media, or presentations, sharing your photography can foster connections and spark conversations about nature, hiking, and conservation, ultimately promoting a love for the outdoors.
5. Improve Your Photography Skills
Hiking with a camera provides an excellent opportunity to improve your photography skills in real-world settings.
Each hike presents unique lighting conditions, landscapes, and subjects, allowing you to experiment and learn different techniques.
Whether you’re focusing on composition, mastering exposure settings, or understanding depth of field, the diverse environments challenge you to adapt and grow as a photographer.
Additionally, the immediate feedback you receive from capturing images encourages continuous learning.
Over time, you’ll build confidence and creativity, leading to better photographs and a deeper appreciation for the art of photography.
By integrating hiking and photography, you cultivate both your outdoor and artistic skills simultaneously.
Related faq’s
What type of backpack is best for carrying a camera while hiking?
The best backpack for carrying a camera while hiking is a dedicated camera backpack or one with padded compartments. Look for features like adjustable straps, weather resistance, and easy access to gear to ensure comfort and protection for your equipment.
Should I use padded inserts in my backpack?
Yes, using padded inserts is highly recommended if you’re using a standard hiking backpack. Padded inserts provide extra cushioning and organization for your camera and lenses, protecting them from impacts and moisture during your hike.
How can I prevent my camera from moving around in my backpack?
To prevent your camera from moving, use padded dividers or internal straps to secure it in place. Ensure that your gear is snugly fitted within the compartments, and regularly check that everything is properly secured before hiking.
What accessories should I carry with my camera on a hike?
Essential accessories include extra batteries, memory cards, a lens cleaning cloth, and a rain cover for your camera. Having these items on hand ensures you’re prepared for any situation while capturing your outdoor adventures.
Is it safe to carry a camera on rugged trails?
Carrying a camera on rugged trails can be safe if you take proper precautions. Use a secure camera bag, practice safe handling, and be aware of your surroundings to minimize risks. Always keep your camera secured when not in use.
How do I protect my camera from weather conditions while hiking?
To protect your camera from weather conditions, use a weather-resistant backpack or camera bag. Carry a rain cover specifically for your bag and use silica gel packs to absorb moisture inside your camera gear.
Can I attach a tripod to my hiking backpack?
Yes, many hiking backpacks have built-in straps or attachment points for securing a tripod. Ensure that the tripod is securely fastened to prevent it from swinging or getting in the way while you hike.
Conclusion
Carrying a camera in a hiking backpack requires thoughtful preparation to ensure protection and accessibility.
By choosing the right backpack, utilizing padded inserts, and organizing your gear efficiently, you can safeguard your camera while enjoying the outdoors.
Additionally, practicing safe handling and being prepared for weather conditions will enhance your hiking experience.
With the right approach, you can capture stunning landscapes and wildlife moments effortlessly, creating lasting memories of your adventures.
Ultimately, being well-prepared allows you to focus on both the journey and the photography, making your outdoor excursions more rewarding.


