
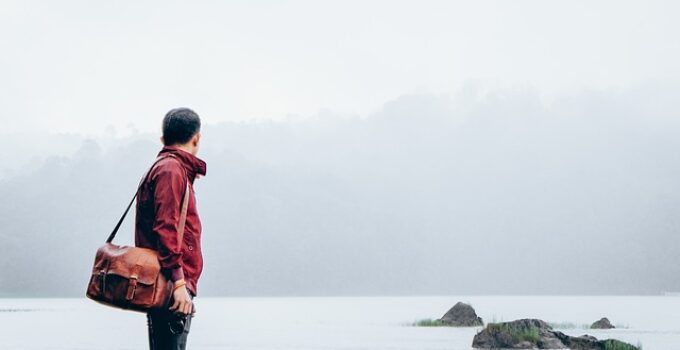
If you’re a photographer on the go, you know the importance of having a reliable camera bag that can keep your gear safe and organised.
But why settle for a boring, generic camera bag when you can create a stylish messenger bag that fits your unique aesthetic?
In this guide, we’ll show you how to make a camera bag style messenger bag that is both functional and fashionable.
Whether you’re a professional photographer or just someone who loves taking photos as a hobby, this DIY project is a fun and rewarding way to carry your camera gear in style. So grab your materials and let’s get started!
How to make a camera bag style messenger bag?
You might wondered how to make a camera bag instant but dont know how. Here are seven stes tp make a camera bag style messenger bag.
- Gather materials
- Create pattern
- Cut pieces
- Sew the exterior
- Add padding
- Add compartments and pockets
- Add straps
Material you need to make a camera bag
To make a camera style messenger bag, you will need a few materials, including:
- Durable fabric for the exterior of the bag. Some popular options are canvas, twill, or waxed cotton.
- Fabric for the interior lining. Nylon or polyester are good choices for a waterproof and durable interior.
- Foam padding to protect your camera equipment. You can use foam sheets or pre-cut foam padding designed for camera bags.
- A zipper to close the main compartment of the bag.
- Buckles and webbing to create adjustable straps for the bag.
- Thread and sewing needles, or a sewing machine.
- Optional: additional pockets and compartments for organising camera equipment and accessories.
Make sure to choose materials that are strong enough to hold the weight of your camera and lenses, and durable enough to withstand daily use.
7 instant steps to make a camera bag
Sure, here are 7 steps to make a camera bag style messenger bag:

Gather materials:
You’ll need durable fabric for the exterior and interior lining, foam padding, a zipper, buckles, webbing, and a sewing machine.
Create pattern:
Create a pattern by measuring and cutting the fabric to the desired size for your bag.
Cut pieces:
Cut out the pieces for the bag, including the exterior and interior fabric, foam padding, and any pockets or compartments.
Sew the exterior:
Sew the exterior fabric together, leaving room for the flap and pocket openings.
Add padding:
Add foam padding to the interior of the bag and sew it in place.
Add compartments and pockets:
Sew any additional compartments and pockets to the interior and exterior of the bag.
Add straps:
Sew the straps and buckles to the bag, making sure they are securely attached and adjustable.
With these steps, you’ll have a functional and stylish camera bag style messenger bag that you can use to carry your gear on the go.
Don’t forget to test it out with your camera equipment to make sure everything fits snugly and securely before hitting the road.
Related Faq’s
How do you turn a backpack into a camera bag?
Converting a backpack into a camera bag can be a great way to repurpose a bag you already own and make it more functional for carrying camera equipment. Here are a few steps to turn a backpack into a camera bag:
- Choose the right backpack: Look for a backpack that has enough space and compartments to accommodate your camera gear. Make sure it’s also made of durable material and has padding to protect your equipment.
- Remove excess padding and dividers: If your backpack has extra padding or dividers that don’t suit your camera gear, you may need to remove them.
- Add customizable dividers: Invest in customizable camera dividers that can be arranged to fit your camera and lens sizes. You can purchase dividers online or make them yourself with foam sheets or padded inserts.
- Secure the gear in place: Use velcro, adhesive, or elastic straps to secure your camera and lenses in place. This will prevent them from moving around inside the bag and getting damaged.
- Add additional pockets: Consider adding extra pockets for batteries, memory cards, and other camera accessories. You can use the existing pockets in the backpack or sew in new ones.
- Test it out: Before using your backpack as a camera bag, test it out with your gear to make sure everything fits securely and is well-protected. Make adjustments as needed.
By following these steps, you can turn your backpack into a functional and customisation camera bag that meets your specific needs.
How do you layout a camera bag?
Layout is an important aspect of organizing a camera bag. Here are some tips on how to layout a camera bag:
Determine the main compartment: The main compartment of your camera bag should be used for your camera body and larger lenses. Place your camera body at the bottom of the compartment and arrange your lenses on top of it, with the largest ones towards the back.
Add customizable dividers: Use customizable dividers to create individual slots for your lenses and camera body. This will keep them separated and protected from each other.
Use external pockets: External pockets can be used for smaller items such as memory cards, batteries, or filters. Keep these items organized in separate pockets or pouches to make them easily accessible.
Consider the weight distribution: Place heavier items at the bottom of the bag, closer to your back. This will help distribute the weight more evenly and reduce strain on your back and shoulders.
Think about accessibility: Consider how you will access your gear when shooting. Make sure your most frequently used items are easily accessible and can be quickly retrieved without having to dig through the entire bag.
Don’t overpack: Avoid overpacking your camera bag as this can lead to damage or strain on the bag and its contents. Stick to essential items that you will use on your shoot.
By following these tips and organizing your camera bag in a logical and efficient way, you can make sure your camera gear is well-protected and easily accessible when you need it.
What is the fabric used in camera bags?
Camera bags are often made with durable and sturdy fabrics that can withstand the weight of camera equipment and provide protection from bumps, scratches, and the elements. Here are some common fabrics used in camera bags:
- Nylon: Nylon is a popular fabric for camera bags because it is lightweight, water-resistant, and durable. It is also easy to clean and comes in a range of colors and textures.
- Polyester: Polyester is another common fabric used in camera bags. It is durable, resistant to water and mildew, and easy to clean.
- Canvas: Canvas is a heavy-duty fabric that is known for its strength and durability. It is often used in camera bags because it can withstand heavy use and provides protection from the elements.
- Leather: Leather is a luxurious and stylish option for camera bags. It is durable and can provide good protection, but may require more maintenance than other fabrics.
- Neoprene: Neoprene is a synthetic rubber material that is often used in camera cases and sleeves. It is water-resistant, shock-absorbing, and can provide good protection for cameras and lenses.
When choosing a camera bag, consider the type of fabric used and how it will suit your needs in terms of durability, protection, and style.
Conclusion:
In conclusion, making a camera bag style messenger bag can be a fun and rewarding project for photographers who want to carry their camera gear in a stylish and practical way.
By following the seven steps outlined in this guide, you can create a messenger bag that is tailored to your specific needs and preferences.
Remember to choose the right materials, measure and cut accurately, and pay attention to details such as padding and compartments to ensure that your camera gear is well-protected and organized.
With a little creativity and effort, you can make a camera bag style messenger bag that is both functional and fashionable.


