
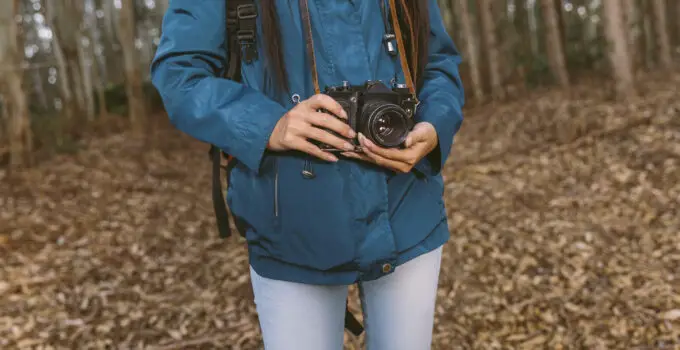
Ever struggled with finding the perfect camera bag that combines protection and style? Wondering how to make a camera padded camera bag that suits your gear?
Let’s dive into crafting a solution that not only safeguards your equipment but also reflects your unique personality.
Crafting a camera padded bag is more than just sewing fabric together.
It involves choosing the right materials, padding techniques, and design considerations to ensure your camera stays safe and accessible on every shoot.
Here how to make your own camera bag?
Join us as we unveil the secrets behind creating a custom camera padded bag that perfectly fits your needs.
Learn from industry experts and enthusiasts who have mastered the art of blending functionality with aesthetics. Ready to revolutionize the way you carry your camera gear? Let’s get started!
How to make a camera padded camera bag?
To make a padded camera bag, you’ll need materials like foam padding, a durable fabric like canvas or nylon, a zipper, and sewing supplies.

- Measurements: Measure your camera and accessories to determine the dimensions of the bag.
- Cutting: Cut the fabric into the desired shape, leaving extra for seams. Cut the foam padding to match these dimensions, considering the thickness you want for protection.
- Sewing: Sew the sides and bottom of the fabric together, leaving the top open for the zipper. Sew the foam padding to the interior of the fabric, ensuring it’s snug and well-covered.
- Zipper: Attach the zipper along the top opening of the bag, securing it firmly.
- Finishing touches: Add any additional pockets or dividers inside the bag for organizing accessories.
- Testing: Test the bag by placing your camera and accessories inside to ensure a snug fit and adequate padding.
This process should result in a custom-made padded camera bag tailored to your equipment’s needs.
Here, can you buy just camera bag pads?
What does padded camera bag means?
A padded camera bag refers to a specialized carrying case designed to protect cameras and their accessories from damage during transportation or storage.
The padding inside the bag serves as a cushioning layer that absorbs shocks and impacts, reducing the risk of scratches, dents, or other harm to the equipment.
Padded camera bags typically feature compartments and dividers to organize different camera components such as lenses, batteries, memory cards, and cables.
The padding may be made of various materials like foam or soft fabric, providing a protective barrier around the sensitive camera gear.
These bags often come in different sizes and styles to accommodate various camera types, from compact point-and-shoot cameras to large DSLR or mirrorless camera setups.
They are essential for photographers who need to carry their equipment safely while on the move, whether for professional shoots, travel, or everyday use.
9 steps to make a camera padded camera bag
Step 1: Gather Materials and Tools
Before starting, gather all the materials and tools you’ll need for the project.
This includes foam padding, a durable fabric like canvas or nylon, a zipper, sewing machine or needle and thread, scissors, measuring tape, and any additional accessories like pockets or dividers.
Step 2: Measure Camera and Accessories
Measure your camera and accessories to determine the dimensions of the bag.
Take into account the camera body, lenses, batteries, memory cards, and any other items you typically carry with your camera.
Step 3: Cut Fabric and Padding
Using the measurements from Step 2, cut the fabric into the desired shape for your bag.
Leave extra fabric for seams. Then, cut the foam padding to match these dimensions, considering the thickness you want for protection.
Here, what can i use if i don’t have a camera bag?
Step 4: Sew Sides and Bottom of Bag
Sew the sides and bottom of the fabric together, leaving the top open for the zipper.

Use a sewing machine or hand stitching, depending on your preference and skill level. Ensure strong seams for durability.
Step 5: Attach Foam Padding
With the fabric turned inside out, attach the foam padding to the interior of the bag.
Sew the padding securely to the fabric, making sure it’s snug and well-covered to provide adequate protection for your camera and accessories.
Step 6: Install Zipper
Attach the zipper along the top opening of the bag.
Sew the zipper in place, ensuring it is securely attached and functional. The zipper will allow easy access to the contents of the bag while keeping them secure.
Step 7: Add Additional Features
If desired, add any additional features to the bag such as pockets, dividers, or straps.
These features can help organize your camera gear and make the bag more functional for your needs.
Step 8: Test Fit and Adjustments
Test the bag by placing your camera and accessories inside.
Ensure they fit comfortably and securely within the padded compartments. Make any adjustments to the size or layout as needed for a better fit.
Step 9: Finalize and Use
Once you’re satisfied with the fit and functionality of the bag, finalize any remaining stitching or details.
Trim any excess threads and ensure all seams are reinforced.
Your custom-made padded camera bag is now ready for use, providing protection and organization for your camera equipment.
Here, how to turn backpack into a camera bag?
Related faq’s
Can you make your own camera bag?
Yes, you can definitely make your own camera bag. It’s a great way to customize the design, size, and features to fit your specific camera equipment and personal style.
To make your own camera bag, you’ll need materials like foam padding for protection, a durable fabric for the exterior, a zipper for closure, sewing supplies, and any additional features you want to include such as pockets or dividers.
By following a step-by-step process like measuring your camera and accessories, cutting and sewing the fabric and padding, attaching the zipper, adding extra features, and testing the fit, you can create a custom camera bag that meets your needs perfectly.
Making your own camera bag can be a fun and rewarding DIY project for photographers looking for a unique and practical way to carry and protect their gear.z
How to make a camera lens bag?
To make a camera lens bag, you’ll need foam padding, a durable fabric, a zipper, and sewing supplies.
Measure your lens dimensions, cut fabric and padding to size, sew the sides and bottom, attach the padding, add a zipper, and finish with any extra features like pockets or dividers.
How to pack a camera in a bag?
When packing a camera in a bag, start by placing the camera body in the central compartment.
Wrap lenses in soft cloth or use padded dividers to separate them.
Pack accessories like batteries and memory cards in designated pockets.
Ensure the camera is snug but not overly tight to avoid pressure on sensitive parts.
Place the camera bag in a secure position within a larger travel bag or carry-on to prevent jostling. Additionally, consider adding silica gel packets to absorb moisture and protect the equipment
Can I use any bag as a camera bag?
While you can use any bag as a camera bag, it’s crucial to consider protection.
Camera-specific bags offer padded compartments and customizable layouts for gear safety.
Regular bags lack this specialized padding, risking damage from bumps or falls. If repurposing a bag, add foam inserts or padded dividers to protect the camera and lenses.
Also, ensure the bag has sufficient space and weight distribution to avoid strain.
Choosing a purpose-built camera bag prioritizes gear safety, accessibility, and organization, especially during travel or outdoor shoots.
Conclusion:
Creating a camera padded camera bag involves gathering materials, measuring, cutting, sewing, and testing.
By following these steps, you can craft a custom bag that protects your camera equipment during transport and storage, ensuring it remains safe and secure


