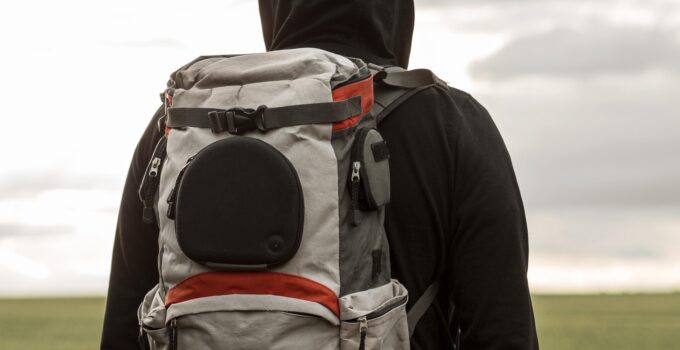
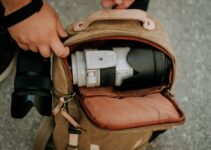
A DSLR camera is an essential tool for any photography enthusiast, but finding the right camera bag can be a challenge. A good camera bag not only protects your camera but also keeps it organized and easily accessible.
While there are many camera bags available in the market, sometimes you may not find one that meets your specific requirements.
In such cases, making your own DSLR camera bag can be a great option.
In this article, we will guide you through the process of making a DSLR camera bag in 7 easy steps. You can use these steps to create a customized and functional bag that meets your needs and style.
7 easy steps to make a DSLR camera bag
Here take a look at 7 easy steps to make a dslr camera bag.
Step 1: Gather the Materials
To make a DSLR camera bag, you will need the following materials:
- A sewing machine
- Fabric (outer layer and lining)
- Interfacing
- Zippers
- Foam padding
- Strap or handle
- Thread
- Scissors
- Pins
- Ruler
Step 2: Prepare the Pattern
Before you start sewing, you need to prepare the pattern for your camera bag. You can either create your own pattern or use an existing one. You can find many patterns online or in books on sewing.
Once you have selected a pattern, you need to adjust it to fit your camera and any other accessories you plan to carry in your bag. You can do this by measuring your camera and making adjustments to the pattern accordingly.
Step 3: Cut the Fabric and Interfacing
Once you have your pattern ready, it’s time to cut the fabric and interfacing. You will need to cut the outer fabric, lining fabric, and interfacing according to your pattern.
Make sure to label each piece of fabric and interfacing to avoid confusion later on.
Step 4: Sew the Exterior
Now it’s time to start sewing the exterior of your camera bag. First, sew the outer fabric pieces together to form the main body of the bag. Then, sew on any pockets or compartments you want on the exterior.
Next, sew the foam padding onto the exterior pieces to provide extra protection for your camera.
Step 5: Sew the Interior
After you have finished the exterior, it’s time to sew the interior of your camera bag. First, sew the lining fabric pieces together to form the main body of the interior.
Then, sew any pockets or compartments you want on the interior. Make sure to leave openings for zippers and other closures.
Step 6: Assemble the Bag
Once you have finished sewing the exterior and interior, it’s time to assemble the bag. First, sew the exterior and interior pieces together, leaving openings for the zippers and closures.
Then, attach the zippers and other closures to the openings. Finally, sew on the strap or handle to complete the bag.
Step 7: Finishing Touches
Now that you have assembled the bag, it’s time to add any finishing touches you want. You can add extra padding, adjust the strap or handle, or add any other accessories you want.
5 step method to make a dslr camera bag
Sure, here are 5 steps to make your own DSLR camera bag:

Step 1:
Gather Materials First, gather all the materials you’ll need for your camera bag. These include fabric, padding, lining material, thread, zippers, straps, and any other hardware you want to include.
Step 2:
Cut and Prepare the Fabric Next, cut the fabric to the appropriate size and shape for your camera bag. Be sure to include extra material for seams and pockets. Then, prepare any padding and reinforcement materials and cut them to size as well.
Step 3:
Sew the Pieces Together Using a sewing machine or by hand, sew the various pieces of your camera bag together.
Begin with the outer layer and work your way to the lining, making sure to add any pockets or compartments as desired. Be sure to sew the padding and reinforcement materials in as well.
Step 4:
Add Zippers and Straps Once the main body of your camera bag is complete, add zippers and straps as needed. This can include a shoulder strap, handles, or other attachments that make carrying the bag more comfortable.
Step 5:
Finish and Test Finally, finish any remaining details such as trimming loose threads and testing the bag to ensure it fits your camera and accessories properly. You can also add any personal touches such as decorative stitching or logos.
By following these 5 steps, you can make your own DSLR camera bag that is both functional and stylish. With a little creativity and patience, you’ll have a custom camera bag that perfectly fits your needs.
Here if you want to know how to put camera in camera bag.
Now lets move to some of the ralated faq’s
Related FAQs:
How long does it take to make a DSLR camera bag?
The time it takes to make a DSLR camera bag depends on your sewing skills and the complexity of the pattern. However, on average, it can take anywhere from 3-8 hours to complete.
Can I use any type of fabric for my camera bag?
Yes, you can use any type of fabric for your DSLR camera bag. However, it’s important to choose a fabric that is durable and can provide adequate protection for your camera.
Some popular fabric options for camera bags include canvas, nylon, and polyester.
When selecting a fabric, consider factors such as its strength, thickness, and water resistance. You may also want to choose a fabric that is easy to clean and maintain, especially if you plan to use your camera bag in different environments.
Keep in mind that the type of fabric you choose can affect the overall look and feel of your camera bag. So, you may want to choose a fabric that not only provides protection but also reflects your personal style.
In summary, while you have the freedom to choose any fabric for your camera bag, it’s important to select a durable, protective, and easy-to-maintain fabric that suits your needs and style.
Conclusion
In conclusion, making your own DSLR camera bag can be a fun and rewarding DIY project.
By following the 7 steps outlined in this article, you can create a custom camera bag that perfectly fits your camera and accessories while also reflecting your personal style.
Remember to choose a durable fabric, select the appropriate padding and reinforcement materials, and pay attention to the details such as zippers and straps.
With a little creativity and some basic sewing skills, you can make a camera bag that not only protects your equipment but also looks great.
Whether you’re a professional photographer or just starting out, a well-made camera bag can make all the difference in the world. So why not try making your own DSLR camera bag today?


