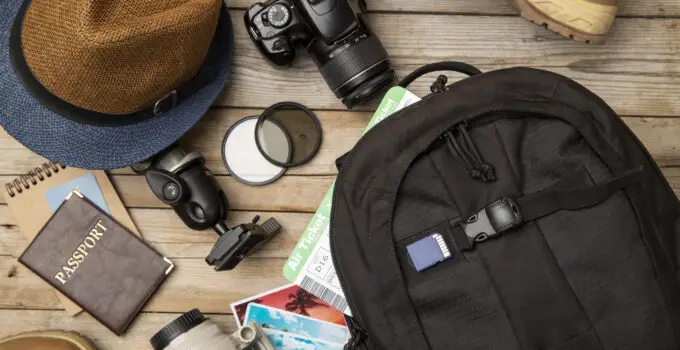
If you’re a photography enthusiast, you know how important it is to have a reliable and functional camera bag to keep your gear safe and organized.
However, finding the perfect camera bag that fits all your needs can be a challenge. That’s why creating a custom camera bag tailored to your specific needs is a great solution.
In this blog, we will walk you through the process of making your own custom camera bag.
From selecting the right materials to designing and constructing your bag, we will provide you with step-by-step instructions and helpful tips to ensure that you end up with a high-quality and unique camera bag that you’ll be proud to show off on your photography adventures.
How to make custome camera bag? (7 instant steps reavealed)
How to measure the camera bag. Here are the 7 steps to make a custom camera bag:
- Measure your camera and accessories: The first step is to determine the size of your camera and any additional accessories that you want to carry in your bag. This will help you to determine the size and shape of the bag that you need to create.
- Choose the right material: Depending on the size of your camera and the level of protection that you need, you can choose the appropriate material for your bag. Common options include leather, canvas, nylon, and neoprene.
- Plan the design: Once you have measured your camera and chosen the material, it’s time to plan the design. Decide how many compartments you need and how you want to arrange them. Consider adding padding or other protective materials to keep your camera and accessories safe.
- Cut the material: Using the measurements that you took in step 1, cut the material to the appropriate size and shape. Be sure to add extra material for seams and any padding that you plan to add.
- Sew the bag: Using a sewing machine or needle and thread, sew the bag together. Be sure to reinforce the seams and any areas that will be carrying the most weight.
- Add the finishing touches: Once the bag is sewn together, you can add any finishing touches that you desire. This might include a shoulder strap, pockets for accessories, or even a waterproof coating.
- Test the bag: Before you put your camera and accessories into the bag, test it out to make sure that everything fits and that the bag provides the level of protection that you need. Adjust the design or add additional padding if necessary.
With these 7 steps, you should be able to create a custom camera bag that meets your needs and protects your equipment.
Just be sure to take your time and measure carefully to ensure that the bag fits your camera and accessories perfectly.
Method 2:
6 steps to make a custom camera bag
Sure, here is a general overview of how to make a custom camera bag:

- Determine the size and shape of your camera and accessories.
- Choose a material for the bag based on your needs and preferences.
- Decide on a design for the bag, including the number of compartments and any additional features you want to include, such as padding or pockets.
- Cut the material according to your design.
- Sew the bag together, making sure to reinforce seams and add any additional features, such as straps or closures.
- Test the bag to make sure it fits your camera and accessories properly and provides the level of protection you need.
These steps are a general guide, and the specifics will depend on the materials and design you choose for your custom camera bag.
It’s important to take your time, measure carefully, and pay attention to detail throughout the process to create a high-quality and functional bag.
Now lets moe some related faq’s.


