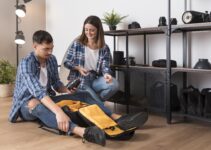
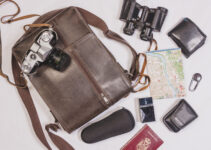
Are you tired of bulky camera bags that don’t quite fit your gear? Creating your own camera bag insert can be a rewarding solution.
Whether you’re a photographer looking to customize your storage or simply seeking a cost-effective alternative to expensive camera bag inserts, crafting one yourself allows you to tailor the design to your specific needs.
By using readily available materials and a bit of creativity, you can protect your camera equipment while maintaining a personalized touch.
This guid..e will walk you through the steps to make a practical and efficient camera bag insert that suits your style and equipment perfectly.
Here 10 best stylish DSLR camera bag.
Is it important to make your own camera bag insert?
Making your own camera bag insert can be beneficial depending on your needs and preferences.
Commercial camera bag inserts often offer specific features like padding, compartments, and customization options, but they may not always perfectly suit your equipment or style.
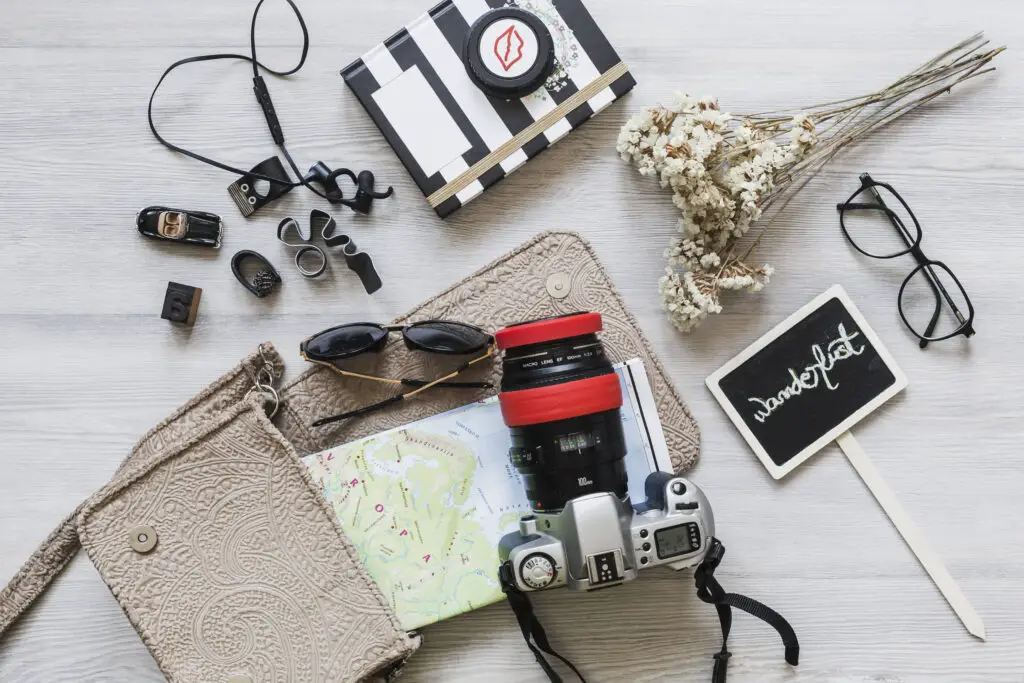
Crafting your insert allows you to tailor it precisely to fit your gear, ensuring better protection and organization.
Additionally, DIY inserts can be more cost-effective and allow for creative customization, such as adding extra pockets or padding where needed.
However, it requires some skill in sewing or crafting, and the materials used should be durable enough to protect your equipment adequately.
Ultimately, whether you make your insert or buy one depends on your budget, crafting ability, and the level of customization and protection you desire for your camera gear.
Is is worth to make your own camera bag insert?
Making your own camera bag insert can be worth it for several reasons.
Firstly, it allows you to customize the insert to perfectly fit your specific camera gear, ensuring better protection and organization than a generic insert might provide.
This customization can also include adding extra features like additional pockets or compartments tailored to your accessories.
Secondly, DIY inserts can be more cost-effective, as you can often use materials you already have or find affordable alternatives.
Moreover, crafting your insert can be a rewarding creative process, allowing you to personalize your camera bag according to your style and preferences. However, it’s essential to consider your crafting skills and the time investment required.
While making your insert offers flexibility and personalization, it requires some level of skill in sewing or crafting and a careful choice of materials to ensure adequate protection for your equipment.
Why you should make your own camera bag insert?
Making your own camera bag insert offers several compelling reasons.
Firstly, customization is key—you can tailor the insert precisely to fit your camera gear and accessories, maximizing space efficiency and ensuring everything is well-organized and protected.
This level of customization often surpasses what pre-made inserts can offer, accommodating specific needs like extra padding for delicate equipment or additional pockets for small items.
Secondly, it’s a cost-effective option. DIY inserts can be made from materials you already have or affordable supplies, saving money compared to purchasing specialized inserts.
Additionally, crafting your insert can be a creative endeavor, allowing you to express your style and preferences through design choices.
Here, do you have to take your camera out of the bag when going through airpot seciruty?
Finally, making your insert fosters a sense of satisfaction and accomplishment, knowing you’ve created a practical and personalized solution for carrying and protecting your camera gear.
Overall, the ability to customize, save costs, express creativity, and enjoy the process makes making your camera bag insert a worthwhile endeavor for many photographers.
Things to know before making my own camera bag
Before making your own camera bag insert, there are several important considerations to keep in mind.
First, assess your crafting skills and ensure you have the necessary tools and materials. Sewing or assembling an insert requires attention to detail and some level of skill to ensure it’s sturdy and functional.
Second, carefully plan the design to accommodate your specific camera gear. Measure your equipment to determine the dimensions needed for compartments and ensure adequate padding for protection.
Third, choose suitable materials that provide sufficient cushioning and durability to safeguard your gear from impacts and moisture. Consider materials like foam inserts, soft fabrics for lining, and durable outer fabrics.
Finally, test your insert design before finalizing it to ensure everything fits correctly and functions as intended.
Taking these steps will help you create a custom camera bag insert that effectively meets your needs and protects your valuable equipment.
How to make my own camera bag insert?
Making your own camera bag insert can be a rewarding project. Here’s a step-by-step guide to get you started:
-
Measure Your Camera Gear: Measure your camera body, lenses, and accessories to determine the dimensions and layout needed for your insert.
-
Choose Materials: Select materials that provide adequate padding and protection, such as foam padding or inserts, soft fabric for lining, and a durable outer fabric like canvas or nylon.
-
Design the Layout: Sketch a layout for your insert, considering where each piece of equipment will go and any additional features like pockets for batteries or memory cards.
-
Cut and Assemble: Cut the foam padding to size and shape according to your design. Sew or glue the padding and fabric together, ensuring seams are strong and tidy. Leave openings for pockets or compartments as needed.
-
Test Fit and Adjust: Place your camera gear into the insert to test the fit. Make any necessary adjustments to ensure everything fits snugly and securely.
-
Install in Your Camera Bag: Once satisfied with the fit, place the insert into your camera bag and arrange your gear. Ensure everything is well-protected and easily accessible.
By following these steps, you can create a customized camera bag insert that meets your specific needs and protects your equipment effectively.
9 steps to make your own camera bag insert?
Creating your own camera bag insert involves several steps to ensure it fits your gear and provides adequate protection. Here’s a concise guide:
-
Gather Materials: Collect foam padding, fabric for lining and outer cover, thread, scissors, and measuring tape.
-
Measure Your Gear: Measure your camera body, lenses, and accessories to determine the dimensions needed for compartments.
-
Design Layout: Sketch a layout plan for your insert, marking where each item will be placed and any additional features like pockets.
-
Cut Foam Padding: Cut the foam to size and shape according to your layout plan, ensuring it provides sufficient cushioning.
-
Cut Fabric: Cut fabric pieces for the lining and outer cover, leaving allowances for seams.
-
Sew or Glue: Assemble the insert by sewing or gluing the foam padding inside the fabric lining. Ensure seams are strong and neat.
-
Add Features: Attach additional features like pockets or dividers as per your design.
-
Test Fit: Insert your camera gear to test fit and make adjustments as necessary for a snug and secure fit.
-
Install: Place the finished insert into your camera bag and arrange your gear. Ensure everything is well-protected and organized.
Following these steps will help you create a customized camera bag insert tailored to your equipment and preferences.
5 Methods to make your camera bag insert
Certainly! Here are five methods for making your own camera bag insert, each explained in detail:
1. Sewing Method
The sewing method involves creating a custom insert using fabric and foam padding. Start by measuring your camera gear to determine the dimensions needed for compartments.
Cut foam padding to size and shape according to your layout plan, ensuring it provides adequate cushioning.
Next, cut fabric pieces for the lining and outer cover, leaving allowances for seams.
Sew the foam padding into the fabric lining, ensuring strong and neat seams to prevent tearing. You can add features like pockets and dividers during this process by sewing them into place.
This method allows for precise customization and durability. It’s ideal if you have basic sewing skills or are willing to learn. Choose fabrics that are durable and soft to protect your gear effectively.
The sewing method offers flexibility in design, allowing you to create compartments that perfectly fit each piece of equipment.
Ensure to test-fit your gear as you progress to make adjustments for a snug and secure fit. Overall, this method results in a sturdy and functional camera bag insert tailored to your specific needs and preferences.
2. Foam Cutting and Shaping Method
The foam cutting and shaping method involves using foam inserts to create compartments for your camera gear. Start by measuring and cutting the foam to fit the interior dimensions of your camera bag.
Use a sharp utility knife or electric foam cutter to achieve precise shapes. Create separate compartments for your camera body, lenses, and accessories by cutting and shaping the foam accordingly.
Once you have the foam pieces cut to size, test-fit your camera gear to ensure everything fits snugly and securely.
You can stack layers of foam to create deeper compartments for larger items or use thinner layers for more delicate accessories. Consider using adhesive spray to attach fabric lining to the foam inserts for added protection and a finished look.
This method is straightforward and does not require sewing skills, making it accessible for beginners.
It’s essential to use high-density foam that provides adequate cushioning to protect your equipment from bumps and shocks.
The foam cutting and shaping method allows for flexibility in design, enabling you to create a custom-fit insert that maximizes space efficiency in your camera bag.
3. DIY Cardboard and Fabric Method
The DIY cardboard and fabric method involves creating a sturdy insert using cardboard as a base and fabric for lining. Start by measuring and cutting cardboard pieces to fit the interior dimensions of your camera bag.
Ensure to cut multiple layers of cardboard for added thickness and strength. Next, cut fabric pieces for the lining and outer cover, leaving allowances for seams.
Attach the fabric lining to the cardboard pieces using adhesive or double-sided tape, ensuring a smooth and secure attachment.
Create compartments by folding and assembling the cardboard pieces, securing them with strong adhesive or hot glue.
You can add additional features like pockets and dividers by incorporating smaller pieces of cardboard or fabric during assembly.
This method is cost-effective and straightforward, making it suitable for those with basic crafting skills.
It provides a customizable solution for organizing your camera gear while offering moderate protection from scratches and minor impacts.
Ensure to reinforce the edges and corners of the cardboard inserts to enhance durability and longevity.
4. 3D Printing Method
The 3D printing method involves using a 3D printer to create custom-fit inserts for your camera bag.
Start by designing the insert using 3D modeling software, taking precise measurements of your camera gear and bag dimensions. Design compartments and features such as dividers and pockets according to your specific needs and preferences.
Once the design is finalized, send the file to a 3D printer to produce the insert using durable materials like PLA or ABS plastic.
Depending on the complexity and size of the insert, printing may take several hours to complete. After printing, test-fit your camera gear to ensure everything fits properly.
This method offers unparalleled precision and customization, allowing you to create intricate designs that perfectly fit your equipment. It’s ideal for tech-savvy individuals or those with access to a 3D printer. Ensure to choose materials that provide sufficient protection and durability for your camera gear.
Here, vincent muneir what’s in his camera bag.
While more expensive than other methods, 3D printing offers a high-quality, long-lasting solution for organizing and protecting your camera equipment.
5. Modular Insert System Method
The modular insert system method involves using pre-made modular inserts that can be customized to fit your camera bag. Start by selecting a modular insert system compatible with your camera bag’s dimensions and layout.
These systems often include pre-cut foam inserts that can be rearranged and customized to create compartments for your camera gear.
Begin by arranging the modular inserts to fit your specific equipment, adjusting and cutting foam pieces as needed to create compartments for your camera body, lenses, and accessories.
Some modular systems allow you to add or remove dividers and accessories, providing flexibility in organizing your gear.
This method is convenient and versatile, offering quick customization without the need for extensive crafting skills.
Modular insert systems are often made from high-quality materials that provide excellent protection for your camera gear.
Ensure to choose a system that fits securely within your camera bag to prevent shifting during transportation.
Overall, the modular insert system method provides a practical solution for organizing and protecting your camera equipment while offering flexibility for future modifications and upgrades.
5 Benefits to make your camera bag insert
Certainly! Here are five benefits of making your own camera bag insert, each explained briefly:
1. Customization
Creating your camera bag insert allows you to tailor it precisely to fit your specific camera gear.
You can design compartments and features like pockets and dividers according to your needs, ensuring everything is organized efficiently and securely.
2. Cost-Effectiveness
DIY camera bag inserts can be more affordable than purchasing pre-made ones.
You can use materials you already have or find economical alternatives, saving money while still achieving effective protection for your equipment.
3. Personalization
Making your insert allows you to express your personal style and preferences.
You can choose fabrics, colors, and designs that match your aesthetic, creating a unique accessory that reflects your creative vision.
4. Skill Development
Crafting your camera bag insert can be a rewarding learning experience. It allows you to develop skills in sewing, crafting, or even 3D modeling and printing if you choose more advanced methods. These skills can be valuable for future DIY projects or repairs.
5. Better Protection
A custom-made insert ensures that each piece of your camera gear is properly cushioned and protected from bumps and impacts.
You can use high-quality materials and design features specifically aimed at safeguarding delicate equipment, providing peace of mind during transport.
Best camera insert for backpack
| Image |
Product |
Details |
Price |
 |
Neewer® Flexible Partition Camera Padded Bag Insert Protection Handbag for SLR DSLR Mirrorless |
Insert bag separates your camera body and lenses with other belongings in your handbag or travel case |
Check Price |
 |
S-ZONE Waterproof Shockproof Practical Foldable Padded DSLR SLR |
Material: High density nylon, Raindrop proof, Light weight, Foldable and Portable |
Check Price |
 |
Camera Insert Bag,Backpack Inner Camera Padded Organizer Case Suit for Sony |
Adjustable inner bladder partition.The detachable partition board is attached to the lining board,and the position can be adjusted at will |
Check Price |
Related faq’s
What materials do I need to make a camera bag insert?
To make a camera bag insert, you’ll typically need foam padding or inserts for cushioning, fabric for lining and outer cover, thread, scissors, measuring tape, and optionally, adhesive or glue for assembly.
Do I need sewing skills to create a camera bag insert?
While sewing skills can be beneficial, they are not always necessary. Depending on the method you choose (like using foam and fabric with minimal sewing), basic crafting skills or even alternative methods like using cardboard or a modular system may suffice.
How do I measure my camera gear for the insert?
Measure your camera body, lenses, and accessories to determine the dimensions needed for compartments. Consider depth, width, and height to ensure a snug fit that provides adequate protection.
Can I customize the layout of my camera bag insert?
Yes, customization is one of the primary advantages of making your insert. You can design compartments, add pockets, dividers, or even incorporate features like straps or handles to suit your specific gear and preferences.
What are the different methods to make a camera bag insert?
Methods include sewing (using fabric and foam), foam cutting and shaping, DIY cardboard and fabric, 3D printing for precise customization, and using a modular insert system that allows for flexibility in arrangement.
How durable are homemade camera bag inserts?
Durability depends on the materials used and the construction method. Properly assembled inserts with sturdy materials like high-density foam and durable fabric can provide effective protection for your gear over time.
Are there benefits to making my camera bag insert compared to buying one?
Yes, benefits include cost-effectiveness, customization to fit your specific gear, the opportunity for personalization, skill development in crafting, and the satisfaction of creating a tailored solution that meets your exact needs.
Conclusion
Creating your own camera bag insert is a practical and rewarding endeavor that offers numerous benefits.
Whether you choose to sew a custom insert, use foam cutting techniques, employ DIY materials like cardboard and fabric, explore 3D printing, or opt for a modular system, each method allows for customization tailored to your camera gear and personal style.
By crafting your insert, you not only save costs and gain a sense of accomplishment but also ensure your equipment is well-protected and easily accessible.
It’s a creative process that enhances organization while reflecting your unique preferences and needs.


